Over-rafter PIR Roof Insulation — Technical Guide
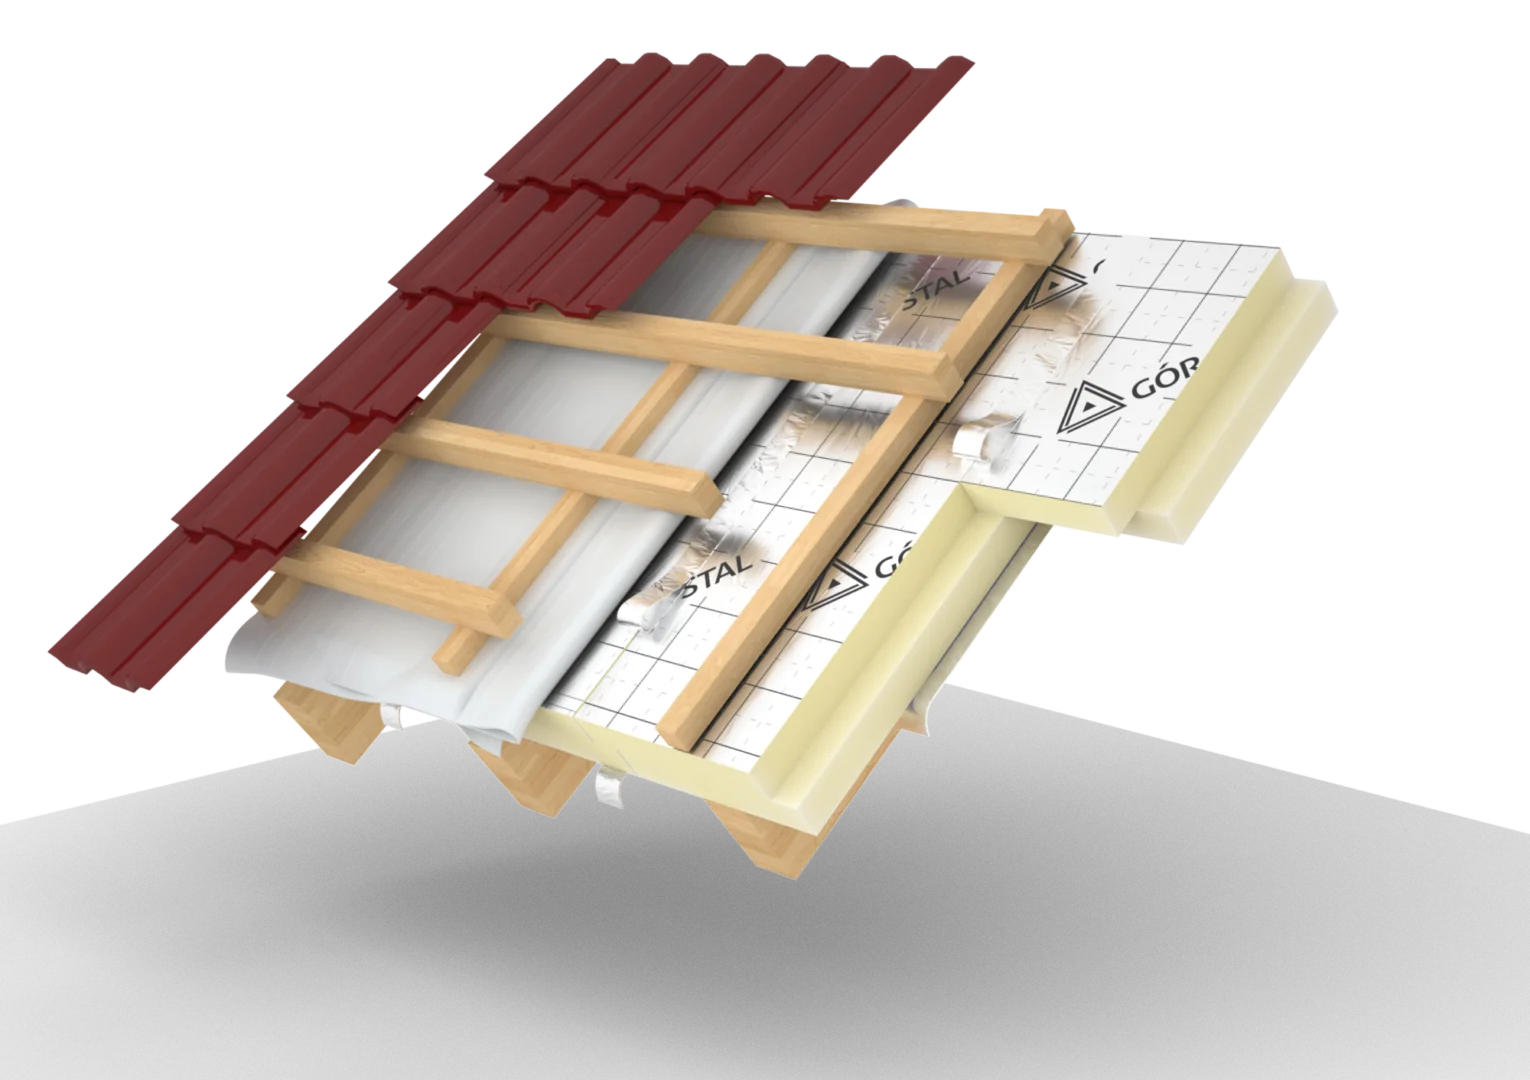
Over-rafter PIR insulation — eliminating thermal bridges in a pitched roof
The choice of insulation method for a pitched roof determines not only the building’s energy efficiency, but also the durability of the roof truss, attic comfort and compliance with WT 2021 (Polish Technical Conditions 2021) requirements (U ≤ 0.15 W/m²K for the roof). Of the three classic techniques — between-rafter, under-rafter and over-rafter — it is the last, implemented with rigid PIR insulation boards, that delivers the cleanest building-physics performance: a continuous insulation layer uninterrupted by rafters and with no risk of condensation in the structural timber.
Why the over-rafter method?
In a between-rafter layout the insulation runs between the truss members — the rafter timber (λ ≈ 0.13 W/(m·K)) forms a linear thermal bridge that reduces the actual U-value of the assembly by as much as 15–25% relative to the value calculated for the insulation alone. The under-rafter method, in turn, sacrifices attic head height and complicates the installation of internal linings.
The over-rafter layout solves both problems at once:
- A continuous insulation layer above the rafters eliminates thermal bridges through the truss.
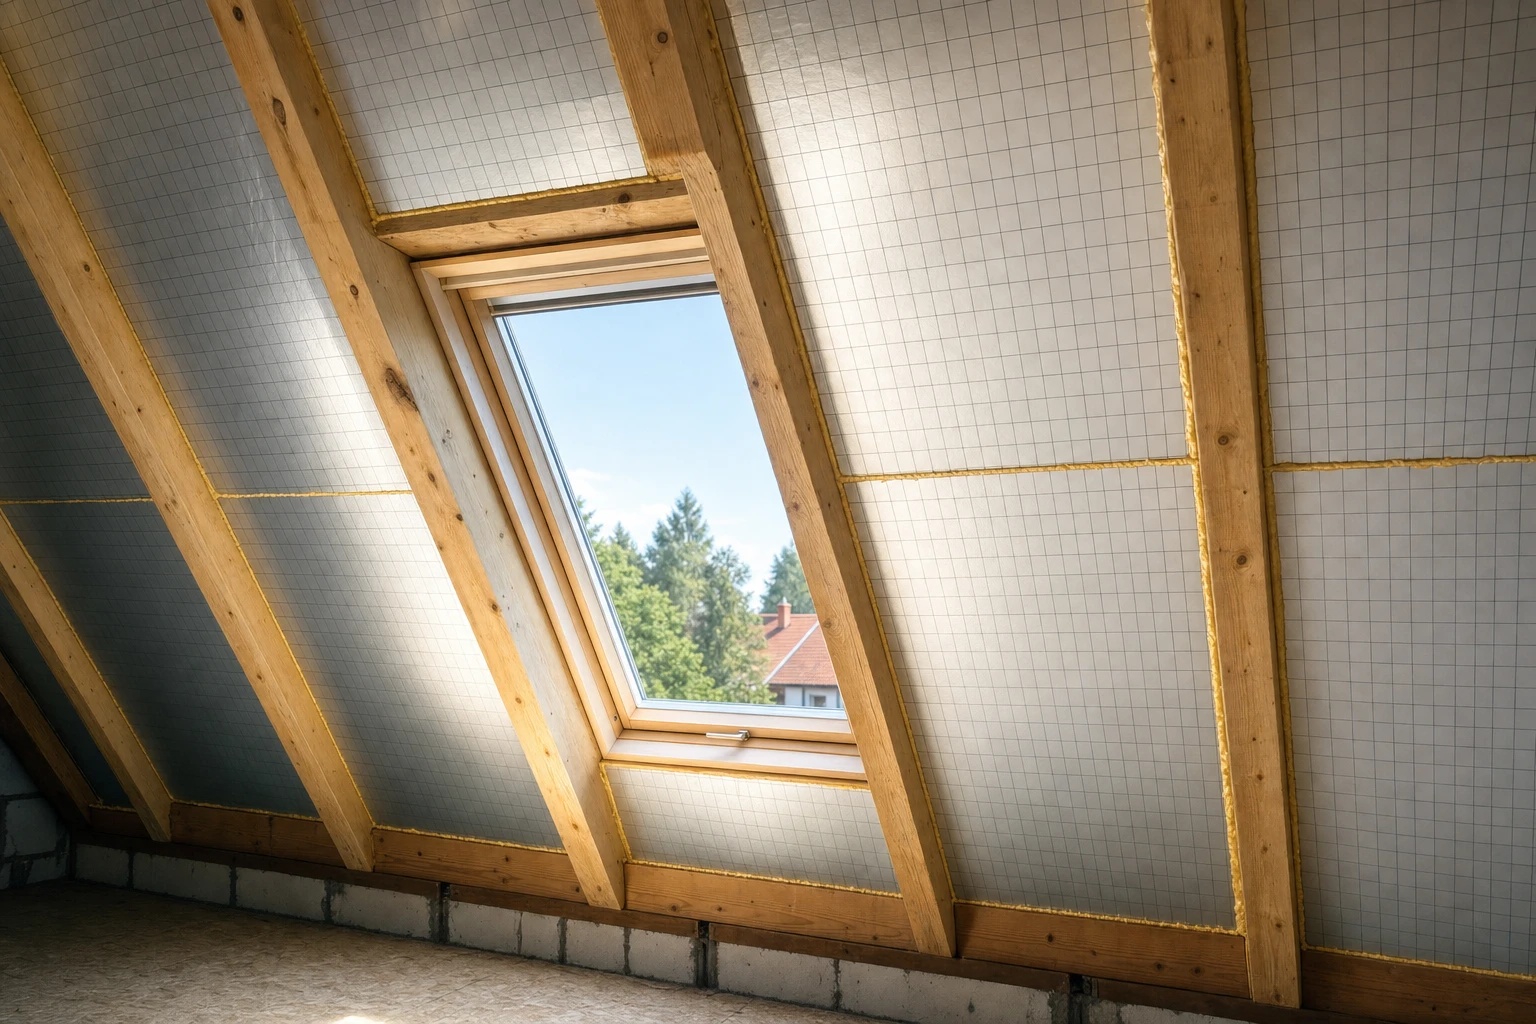
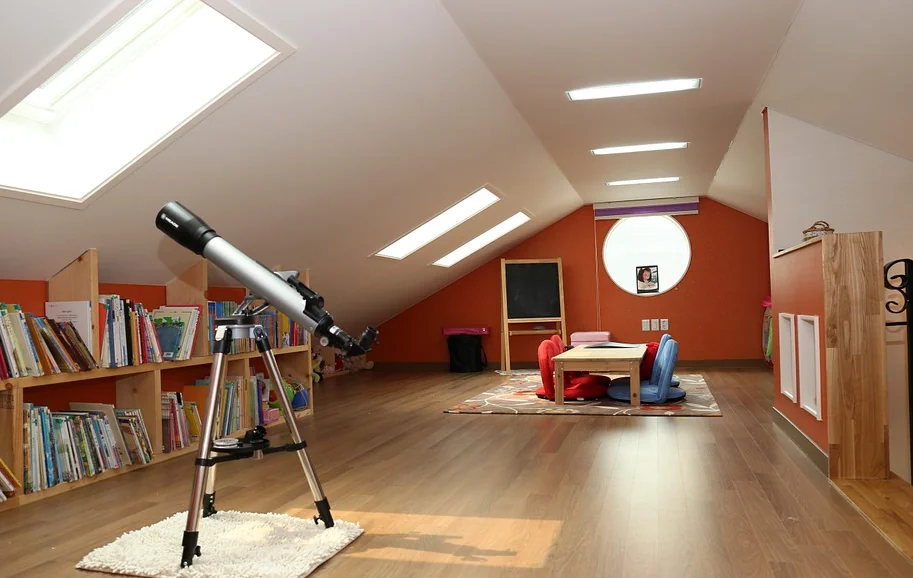
- Full attic volume — the rafters remain exposed and can serve as a decorative interior feature.
- Truss protection — the timber sits on the warm side of the insulation, stabilising its moisture content and extending the service life of the structure.
- No need to dismantle interior finishes during re-roofing — insulation replacement is carried out from the outside.
The method is recommended both for new builds and for major refurbishments involving the replacement of roof coverings. Detailed execution is described in the pitched roof — termPIR® over-rafter system.
Assembly build-up — from inside to outside
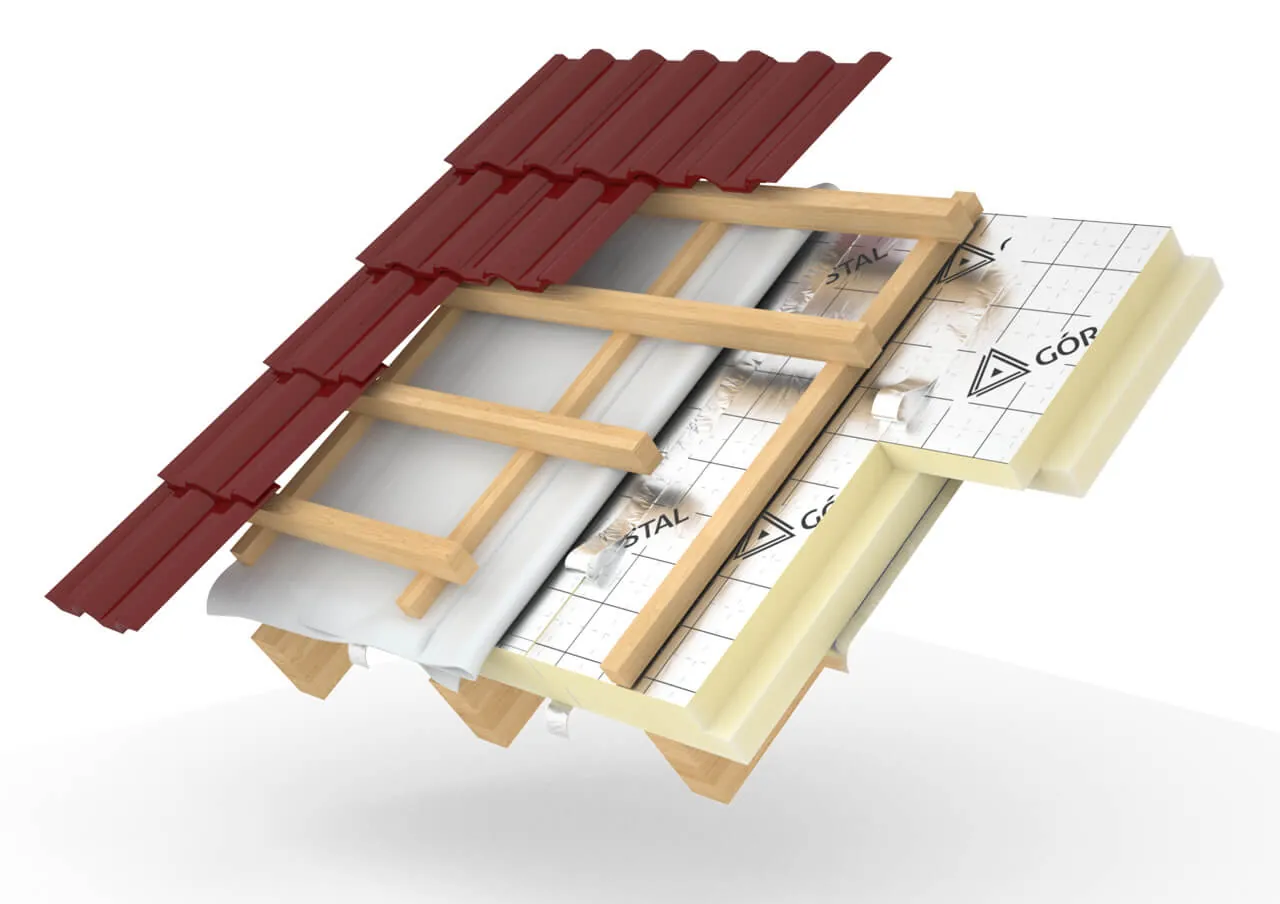
The correct layer sequence for an over-rafter PIR roof is as follows:
- Interior finish (GK board, panelling) on a sub-rafter batten frame
- Vapour control layer — PE film or active membrane, with overlaps sealed using butyl tape
- Roof truss rafters (exposed inside)
- Solid sarking boards or OSB panel (optional, as a working substrate)
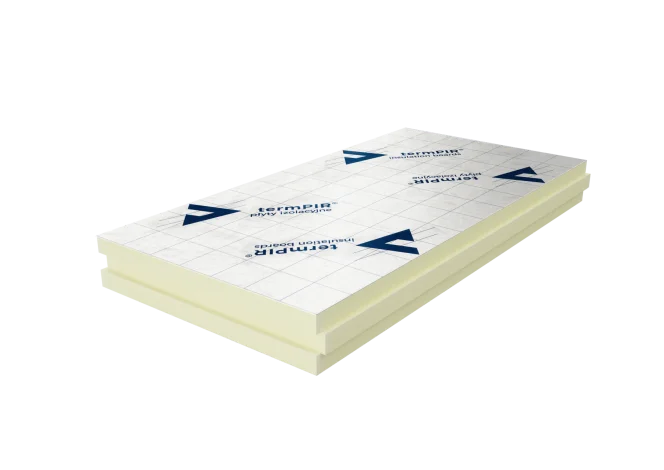
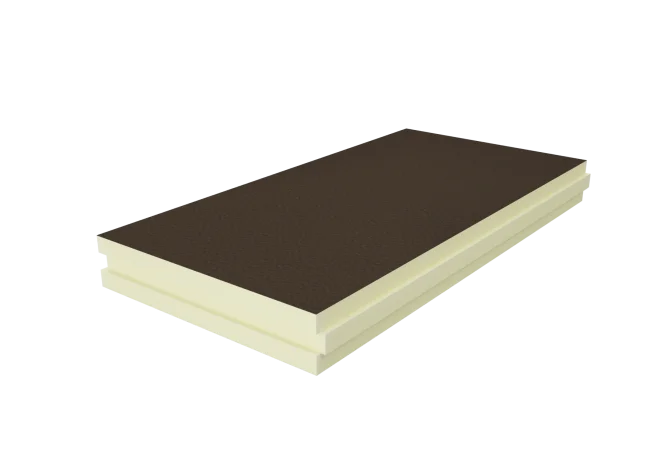
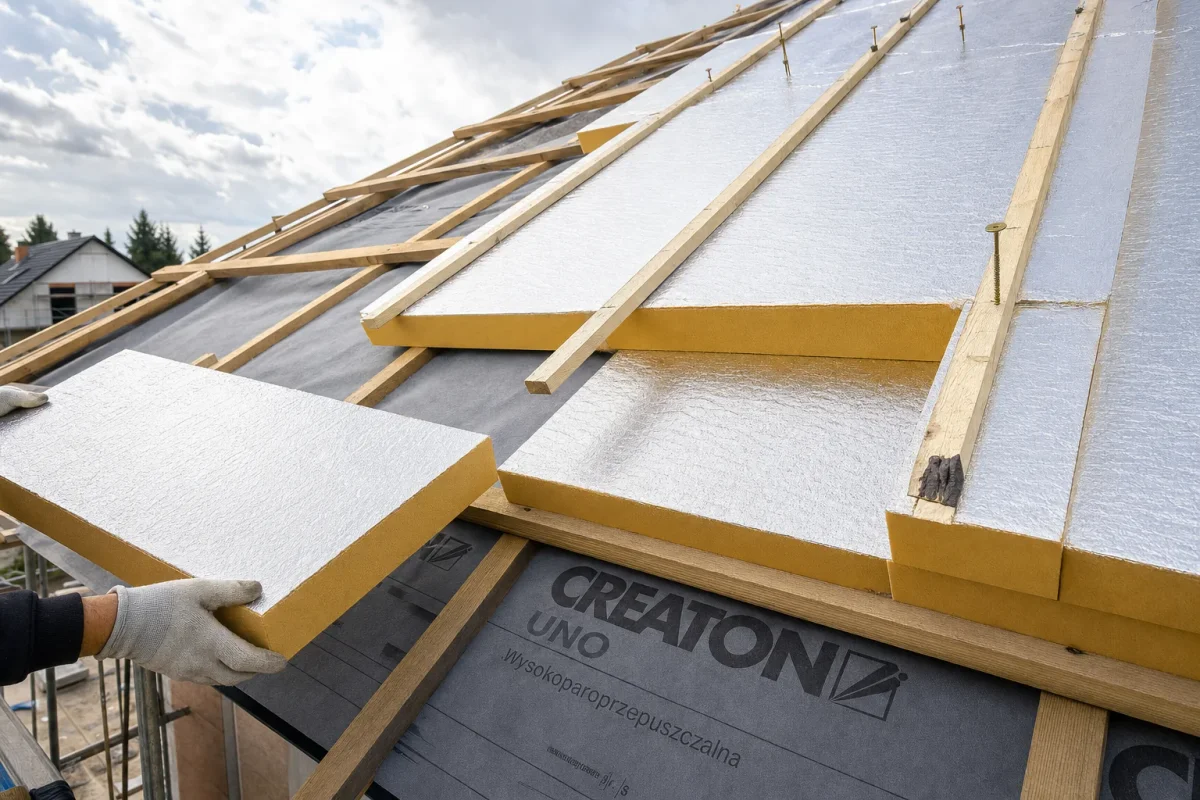
- termPIR® boards with TAG (tongue-and-groove) or LAP (shiplap) edge profile — installed in a staggered pattern
- Highly vapour-permeable membrane (Sd ≤ 0.02 m) with taped overlaps
- Counter-battens fixed with roofing screws through the PIR board into the rafters
- Cross battens
- Roof covering (ceramic tile, concrete tile, metal tile)
Key detail: roofing screws must be correctly sized — screw length = counter-batten thickness + PIR thickness + sarking thickness + min. 60 mm anchorage into the rafter. Fixing spacing is derived from wind-load calculations (zone, height, pitch angle) per PN-EN 1991-1-4.
termPIR® boards — technical parameters for over-rafter use
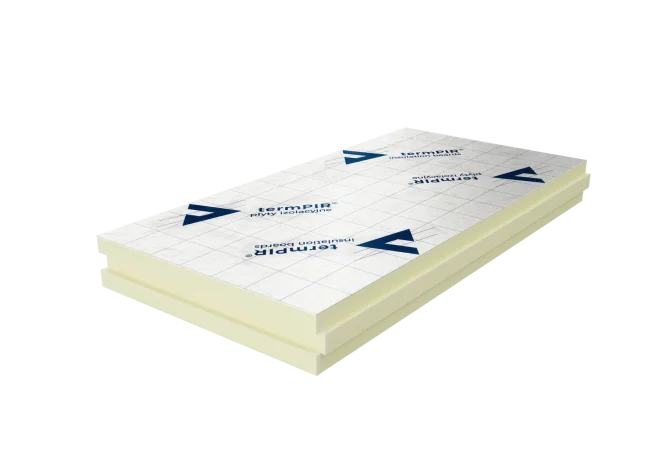
For the over-rafter method, boards with a gas-tight aluminium facing are preferred — they act as an additional vapour barrier and stabilise λD over time. Recommended variants:
- termPIR® AL — universal variant, λD = 0.022 W/(m·K)
- termPIR® MAX 19 AL — premium, λD = 0.019 W/(m·K)
- termPIR® AL R-eco — ECO variant with reduced carbon footprint
Thickness selection for WT 2021 compliance (U ≤ 0.15 W/m²K)
| PIR thickness | λD termPIR® AL (0.022) | λD termPIR® MAX 19 (0.019) |
|---|---|---|
| 100 mm | U ≈ 0.21 W/m²K | U ≈ 0.18 W/m²K |
| 120 mm | U ≈ 0.18 W/m²K | U ≈ 0.15 W/m²K ✓ |
| 140 mm | U ≈ 0.15 W/m²K ✓ | U ≈ 0.13 W/m²K ✓ |
| 160 mm | U ≈ 0.13 W/m²K ✓ | U ≈ 0.11 W/m²K ✓ |
| 180 mm | U ≈ 0.12 W/m²K ✓ | U ≈ 0.10 W/m²K ✓ |
Indicative values for the PIR layer alone. In practice, the minimum thickness providing a comfortable margin is 140 mm for termPIR® AL or 120 mm for termPIR® MAX 19 AL. Standard board dimensions are 1200×2400 mm, with available thicknesses: 20, 30, 40, 50, 60, 80, 100, 120, 140, 150, 180, 200, 220, 250 mm.
Comparison with mineral wool and XPS
The advantage of PIR in over-rafter applications stems not only from low λ, but also from its compact thickness and rigidity:
| Material | λD [W/(m·K)] | Thickness for U = 0.15 | Compressive strength |
|---|---|---|---|
| termPIR® AL | 0.022 | ~140 mm | ≥ 120 kPa |
| termPIR® MAX 19 | 0.019 | ~120 mm | ≥ 120 kPa |
| XPS | 0.029–0.034 | ~200–220 mm | 200–500 kPa |
| Rigid mineral wool | 0.035–0.040 | ~240 mm | 30–70 kPa |
The thickness difference is not just a matter of eaves and ridge detail aesthetics — it also means shorter fixing screws, lower load on the truss, and reduced transport and installation costs.
Fire reaction and durability
termPIR® boards with aluminium facing achieve a system fire reaction class of B-s2,d0 per EN 13501-1. Solid sarking beneath the PIR layer further improves the fire performance of the assembly. The boards are non-dusting, resistant to mould and fungi, and unattractive to rodents — a significant advantage over mineral wools during long-term service.
The declared dimensional stability of PIR per EN 13165 and the absence of insulation settlement over time mean that the U-value of the assembly does not deteriorate over the building’s life cycle — something that cannot be said of soft wools installed in high thicknesses on sloping roof planes.
Frequently asked questions
Can PIR boards be installed without solid sarking?
Is a vapour control layer required on the interior side?
What screw length should be selected for counter-batten fixing?
Is the over-rafter method suitable for refurbishing an existing roof?
Can the over-rafter method be combined with the between-rafter method?
Related products and systems
Products
Read next
How to Get Rid of Martens in the Attic? PIR as a Barrier
Over-Rafter Roof Insulation with PIR Boards — Complete Guide
Attic Insulation with PIR Boards — WT 2021 Compliance | BOKKA