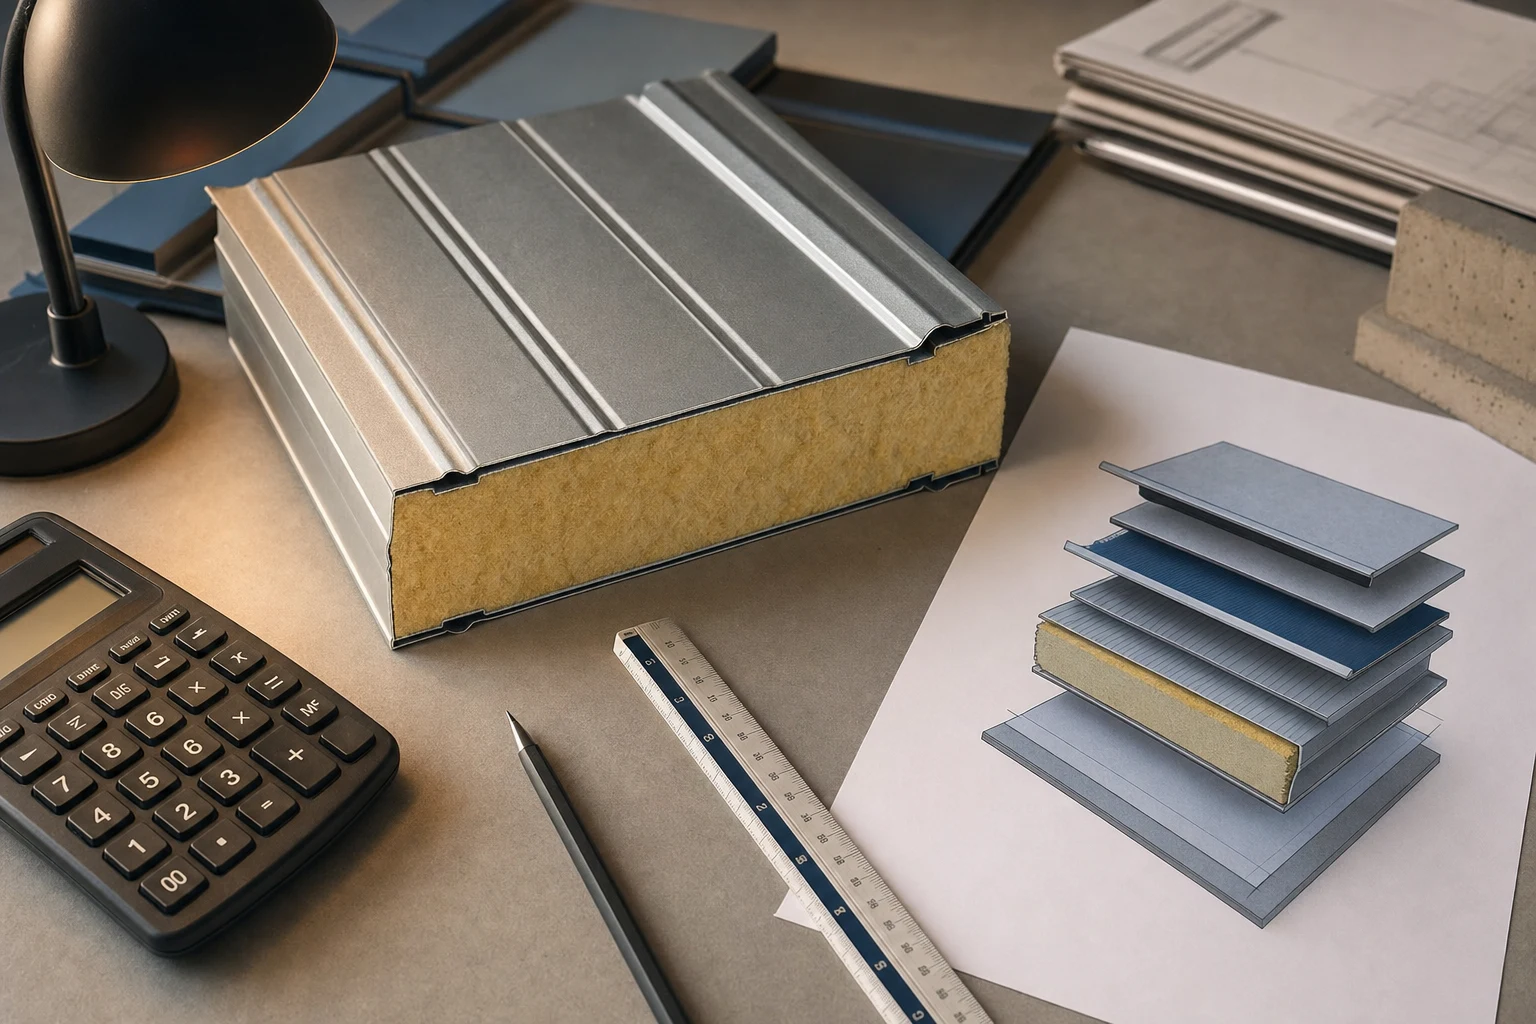
How many PIR or sandwich panels for a roof — how to calculate (formulas + calculator)
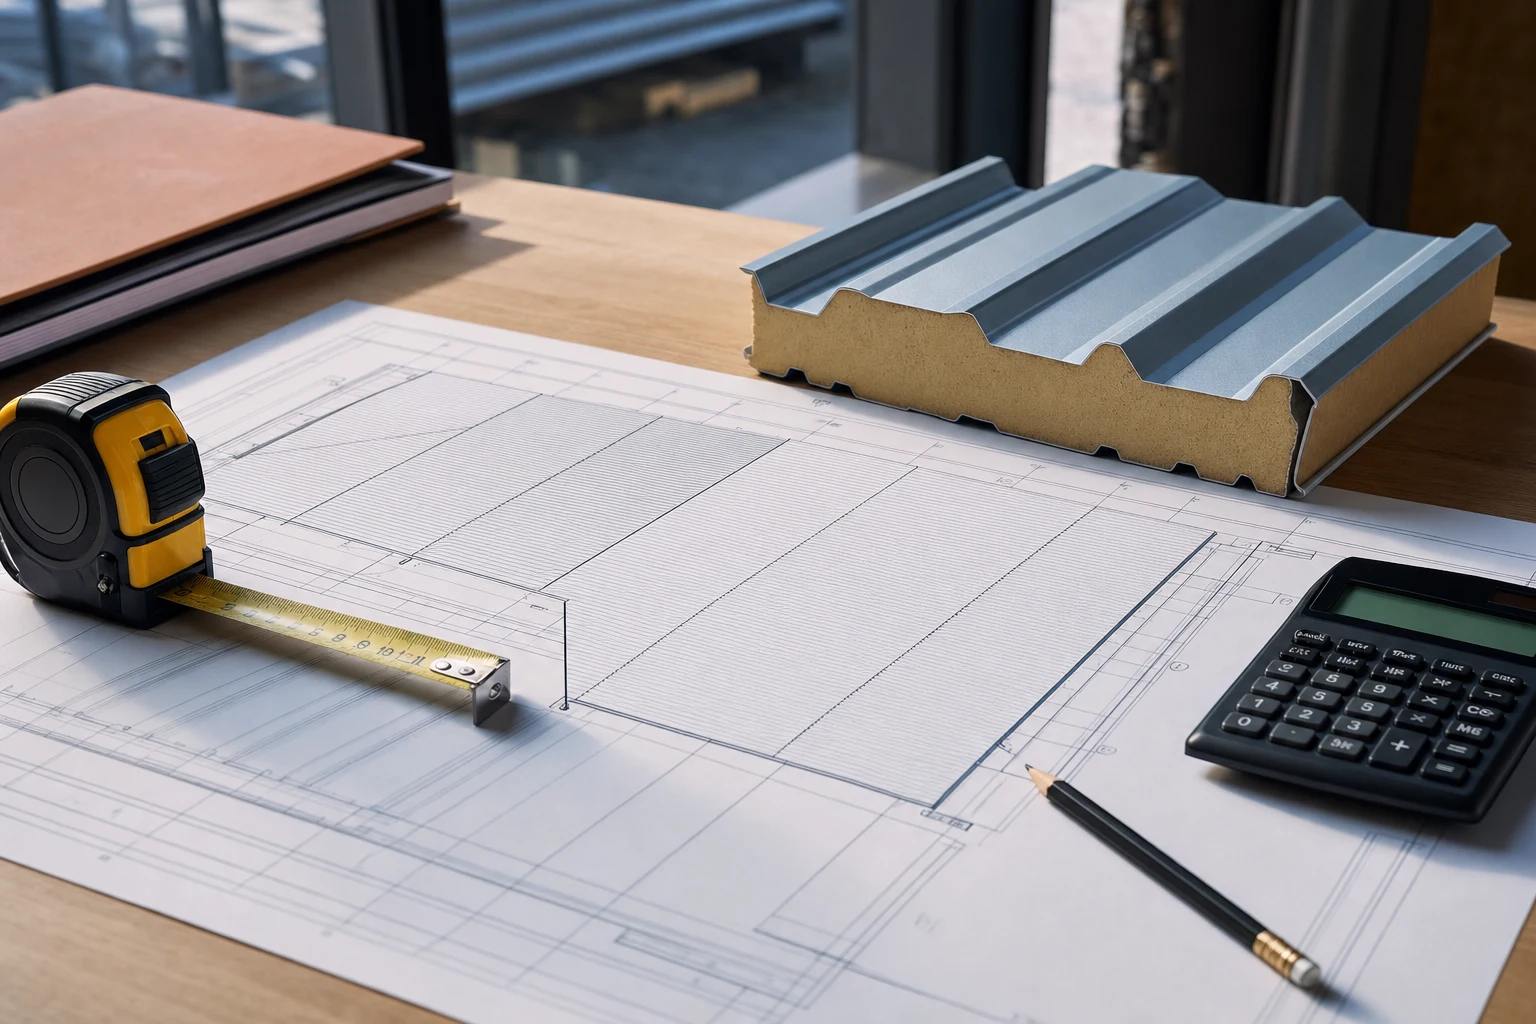
“How many panels do I need for the roof?” is one of the first questions of the investor and the contractor — and one of the most often miscalculated. A mistake one way means downtime and delivery of the missing panels, the other way — an unnecessary cost and a surplus on site. In this article we show how to calculate the roof area step by step and convert it into a number of panels of PIR or sandwich panels, what must not be omitted (laps, cuts, flashings), and how to do it fastest with our calculators.
Step 1 — the plan area
The starting point is the horizontal plan of the roof, i.e. the outline of the building seen from above, enlarged by the eaves. For a simple form this is simply length × width of the outline, accounting for the projecting eaves. For complex forms we divide the plan into rectangles and triangles, calculate each separately and sum them.
The plan alone, however, is not yet the roof area — unless we are talking about a flat roof. On a pitched roof the plane is larger than its plan, because it is inclined.
Step 2 — from plan to plane area
To go from the plan to the actual roof plane area, we multiply the plan area by the slope factor, which depends on the roof pitch angle:
Plane area = plan area × slope factor
The steeper the roof, the greater the factor and the more the plane exceeds the plan. The factor follows from the geometry (the greater the angle, the longer the rafter “hypotenuse” relative to the plan). In practice you can:
- measure the actual plane length on site (from eaves to ridge) and multiply by its width, or
- know the pitch angle and apply the factor, or
- simply enter the plan and angle into the pitched-roof calculator, which converts it automatically.
For a flat roof (halls, warehouses) the plane area is practically equal to the plan, with a minimal correction for technological falls — here the flat-roof calculator comes to the rescue.
Step 3 — from area to number of panels
Having the plane area, we convert it into the number of panels. Here the most common mistake appears: dividing by the total width of the sheet instead of by the cover width.
Sandwich panels and PIR panels join at a lock or lap, so each successive panel “covers” less than its total width. For calculations we therefore use the modular (cover) width given in the technical data sheet of the specific product — it can be noticeably smaller than the total width.
Cover area of one panel = panel length × modular (cover) width per the data sheet
Number of panels = plane area ÷ cover area of one panel
In practice this is calculated more conveniently “by strips”: for a given plane length we select a panel length (with any transverse laps, when the plane is longer than a single panel), and we determine the number of strips along the eaves by dividing the plane width by the cover width. The result is always rounded up — half a panel must be bought whole.
Step 4 — laps, cuts and allowance
To the result we add the realities of installation:
- Transverse laps — for planes longer than a single roof panel the elements overlap; this lap “eats up” a little length and must be accounted for.
- Cuts and waste — every hip, valley, corner, dormer and penetration (chimney, ventilation, rooflight) generates waste from cutting. The more details, the greater the allowance.
- Plane geometry — simple gable roofs have minimal waste; multi-pitch roofs with valleys and half-hips considerably more.
There is no single “magic percentage” of allowance — it depends on the specific plan. Instead of guessing, it is worth estimating the waste individually: we will help do that on the basis of your roof drawing.
Example — how to put it together
Let us follow the line of reasoning on a simple gable roof (symbolic values — enter your own from the design and the product data sheet):
- Plan — we measure the outline of the building with the eaves and calculate the plan area, separately for each of the two planes.
- Plane — we multiply the plan of each plane by the slope factor corresponding to the roof angle; we get the actual plane area.
- Panel strips — we divide the plane width (along the eaves) by the cover width of the panel from the data sheet and round up — this is the number of strips.
- Strip length — we check whether the plane length (from eaves to ridge) fits in one panel; if not, we plan a transverse lap and two panels per strip.
- Sum + allowance — we sum the panels from both planes and add an allowance for cuts appropriate to the number of details.
The same scheme works for a multi-pitch roof — except that each plane is calculated separately, and the allowance grows with the number of valleys and corners. For a flat roof step 2 drops out (plane ≈ plan), and the “strips” are replaced by the panel layout along the drainage fall.
The most important thing is not to mix units: area is calculated in square metres of plane, and the number of panels is always determined by the cover width of the specific product — entering the total width will understate the number of elements needed.
Step 5 — flashings, accessories and fasteners
The number of panels alone is only the base. The complete material for a roof also includes:
- flashings — ridge, eaves, bargeboards, valleys, flashings at chimneys and at walls (calculated from edge lengths and details, not from area),
- fasteners — screws/farmers matched to the panel thickness and the sub-structure, in a quantity following from the fixing spacing,
- seals and accessories — tapes, butyl for the locks, cover trims,
- drainage elements for a flat roof.
The calculator does not work these items out in full — they are selected to suit the design detail. That is why we prepare the final material list with flashings together with the quotation.
The most common mistakes in calculating
From our experience, most mistakes come down to a few recurring causes:
- Calculating from the plan instead of the plane — omitting the slope factor can heavily understate the quantity on a steep roof.
- Total width instead of cover width — the most common mistake, because data sheets give both dimensions, but only the modular width serves the calculation.
- Zero allowance — ordering “to the metre” ends with deliveries of single panels and the crew standing idle.
- Forgotten flashings and fasteners — the panels are there but installation stops because the edge flashings or screws are missing.
- No reserve for transport damage — it is worth keeping a few panels in reserve to replace elements damaged in delivery.
Each of these mistakes costs time or money — and each can be avoided with a diligent calculation and verification with the supplier.
Fastest — calculate in the calculator
Instead of calculating by hand, use our tools — you enter the dimensions and they return the area and the number of panels:
- Sandwich panel calculator — the number and area of sandwich panels for walls and roofs.
- Pitched-roof calculator — converts plan and pitch angle into the plane area.
- Flat-roof calculator — for halls, warehouses and buildings with a flat roof.
- U-value calculator — when, besides the quantity, you want to select the thickness for a required U-value.
The calculators give a fast, reliable starting point. For an order it is still worth verifying the result with an adviser — we will account for the cover width of the specific product, the laps and the real waste for your geometry.
Which panel for the roof?
The number also depends on the choice of product and its cover width:
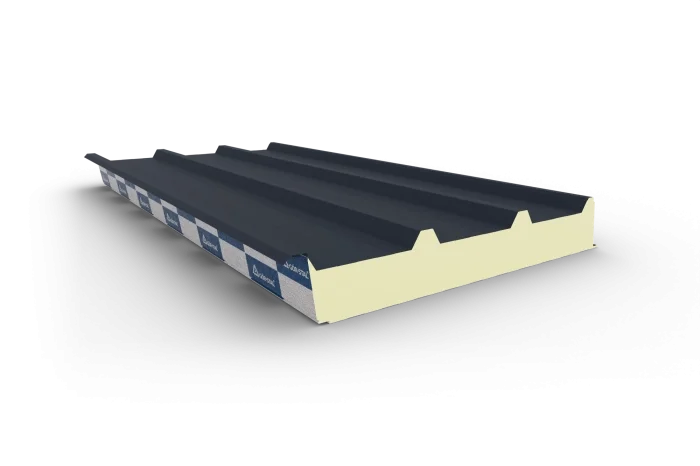
- insPIRe D sandwich panels — roof sandwich panels for halls, warehouses and industrial buildings,
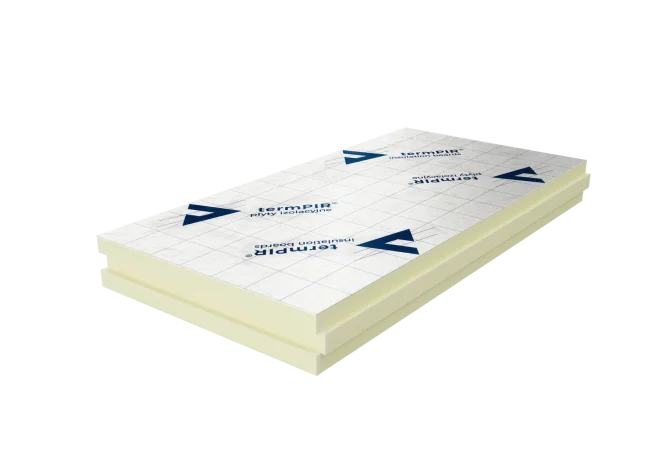
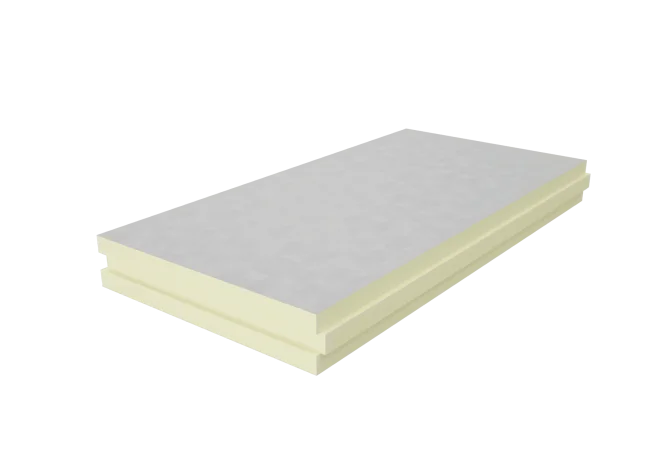
- termPIR AL PIR insulation boards and termPIR ETX — PIR thermal insulation, among others for roofs (including over-rafter and flat).
For flat roofs and the choice of technology, the articles on the application of PIR boards on a flat roof and on ways of insulating pitched roofs will also help.
Summary
Calculating the material for a roof is four things: the plan area, the transition to the plane area through the slope factor, the conversion to a number of panels by cover width (not total), and an allowance for laps and cuts. Flashings, fasteners and accessories are selected separately to suit the detail. The fastest and most reliable way to do it is with our calculators, and for the order we will verify the result for the specific product and roof geometry.
🤝 Contact a BOKKA technical adviser — we will check your calculation, select the panel and prepare a complete material list with flashings and a quotation.
Sources:
- Technical data sheets of GS insPIRe sandwich panels and termPIR insulation boards (cover widths, lengths, parameters) — Gór-Stal / Termpir
- EN 14509 — Self-supporting metal faced insulating sandwich panels
- Principles of roof geometry: converting the horizontal plan into the plane area by the pitch angle
Frequently asked questions
How do I calculate the area of a pitched roof from the plan?
How do I convert roof area into a number of panels?
What is the modular (cover) width of a panel?
How much material allowance should I add for cuts?
Does the calculator also work out the flashings?
Related products and systems
Read next
EPD and carbon footprint of sandwich panels and PIR — ESG in construction
Insulating before winter — what you can still finish in October and November
Choosing a PIR board supplier — manufacturer, DoP, ETA, lead times