Over-rafter insulation on roof boarding — the layers, step by step
— So what goes on the boards now? Underlay, same as always?
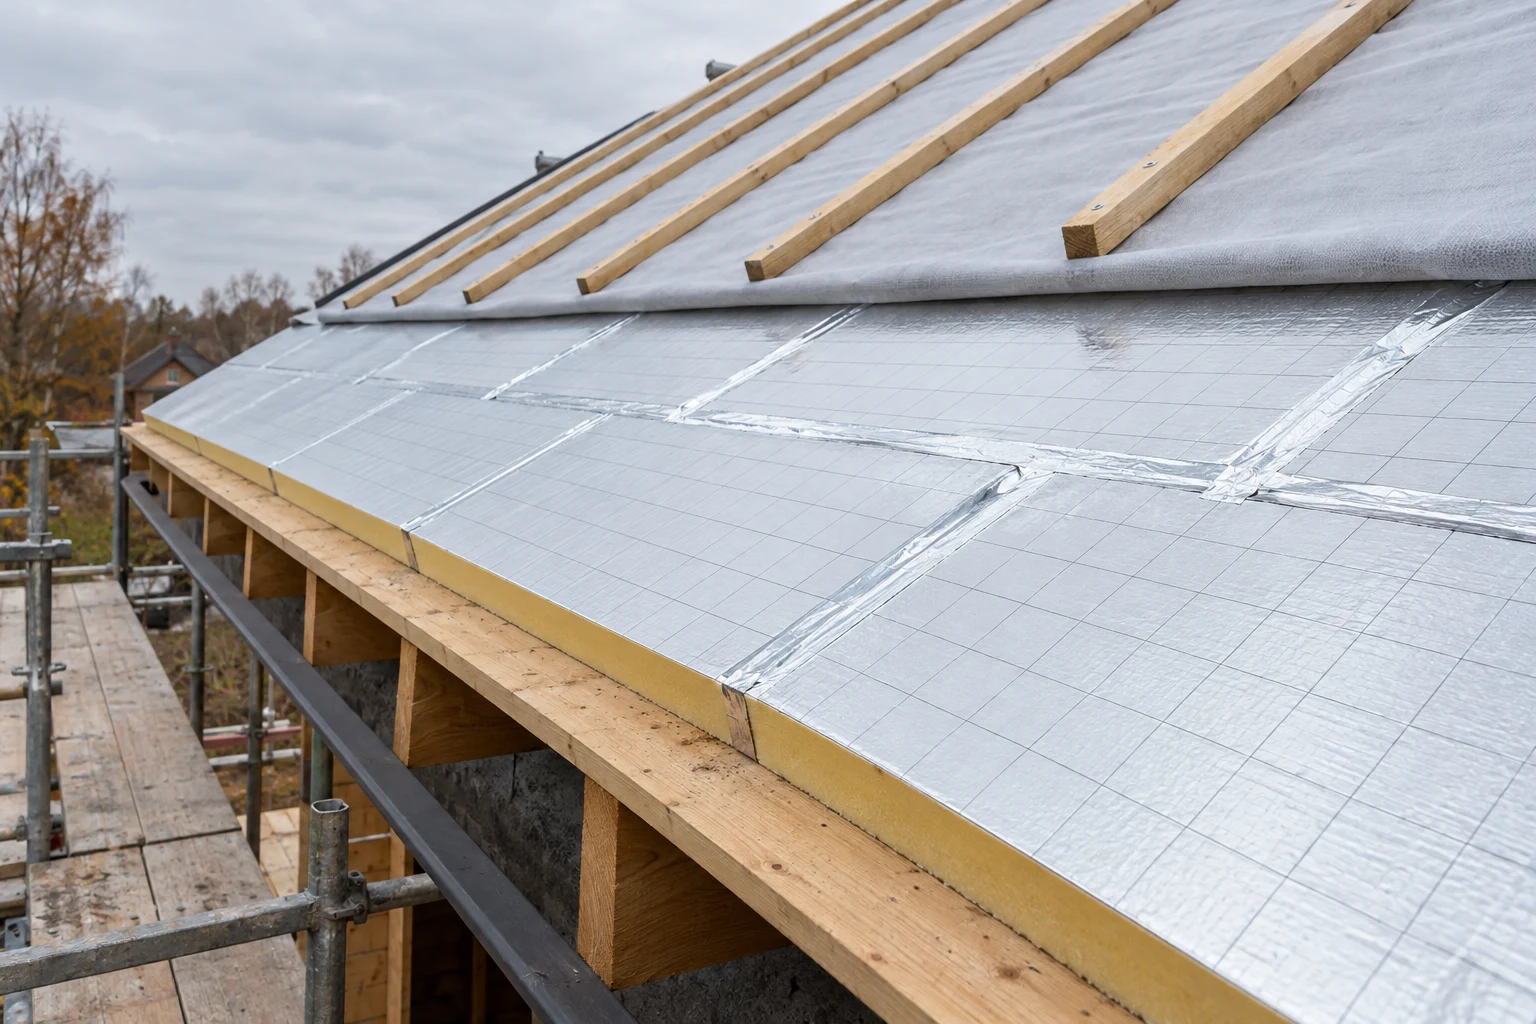
The carpenter finished yesterday. The roof slope looks like a deck: even, pale boards from eaves to ridge, still smelling of resin. The roofer is standing on the scaffold with a roll under his arm, waiting for an answer.
And all you know is that fifteen centimetres of PIR board has to fit between those boards and the tiles. On an ordinary roof it is simple: felt or underlay goes onto the boarding and that is that. Over-rafter insulation changes that order, and a mistake stays under the covering for decades.
What over-rafter insulation of a pitched roof is and when it pays, we described in the complete guide to this method. This piece is narrower: over-rafter insulation on boarding (sarking boards), layer by layer.
Is boarding under PIR boards needed at all?
It does not have to be there. The manufacturer’s technical catalogue lists three single-layer ways of insulating a pitched roof with termPIR® boards: under the rafters, over the rafters, and over the rafters with boarding. It draws the details for boards lying directly on the rafters, and of the variant with boarding it says briefly: installation is analogous, differing only in that full or open boarding is laid before the PIR boards go down.
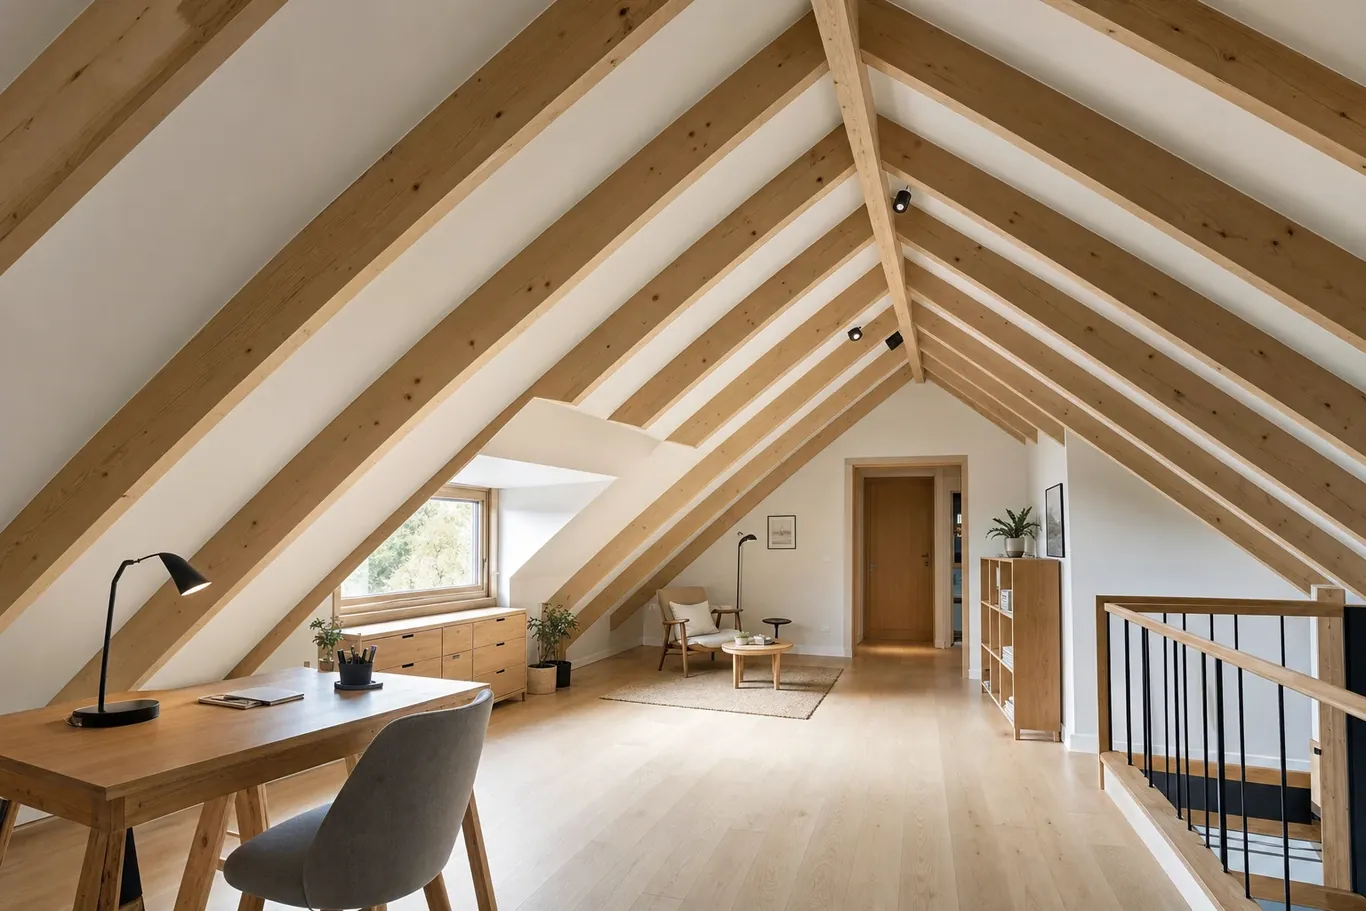
So if it is not required, why bother? There are three reasons, all of them practical. The boarding is already there, because you are renovating the roof and stripping only the covering. It is to stay on show as the ceiling between the rafters.
Or the crew prefers to work on a continuous substrate: the PIR board is then supported over its whole surface, and a joint can fall anywhere on the slope. Full boarding is what lies under, for instance, the 350 m² of boards on one of our projects.
Still choosing between insulation above, between and below the rafters? Start with the comparison of pitched roof insulation methods.
Which layers, and in what order, counting from the inside?
Nine items, one of them conditional:
- Loft finish — plasterboard on battens, or nothing if the rafters and boarding stay exposed.
- Rafters.
- Full boarding — dry, even, with no protruding nails.
- Vapour barrier membrane — conditional; more on that in a moment.
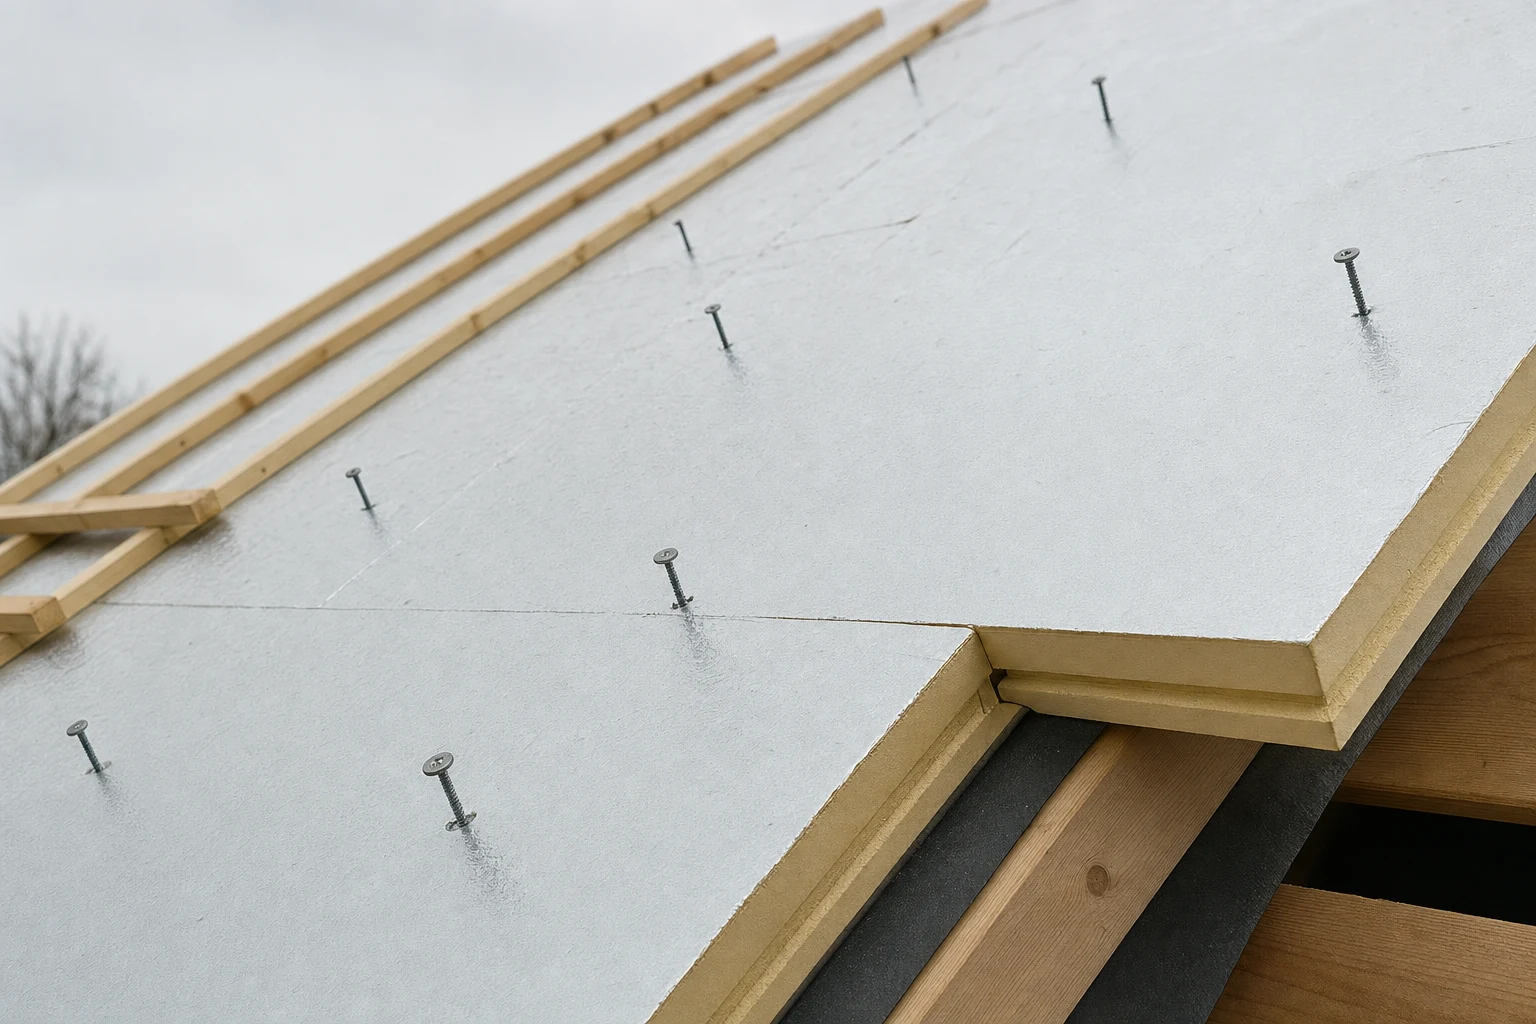
- termPIR® AL boards — long side parallel to the eaves, in rows with staggered joints, the joints sealed with aluminium tape.
- Vapour-permeable underlay — the wind barrier, rolled out over the PIR boards.
- Counter-batten at least 40 mm thick — screwed through the PIR board and the boarding into the rafter.
- Tile batten.
- Covering — tiles or sheet metal.
The answer for the roofer on the scaffold is hidden in item six. The underlay goes on the PIR boards, not on the boarding. Its job is to shield the insulation from wind and to carry leak water and condensate from under the covering down to the gutter, so its place is right under the counter-battens. The manufacturer counts consumption at 1.1 m² of underlay for every square metre of boards.
The same build-up, only without boarding, is shown on the system page pitched roof — termPIR® over rafters.
What about the vapour barrier: a membrane on the boarding or the facing alone?
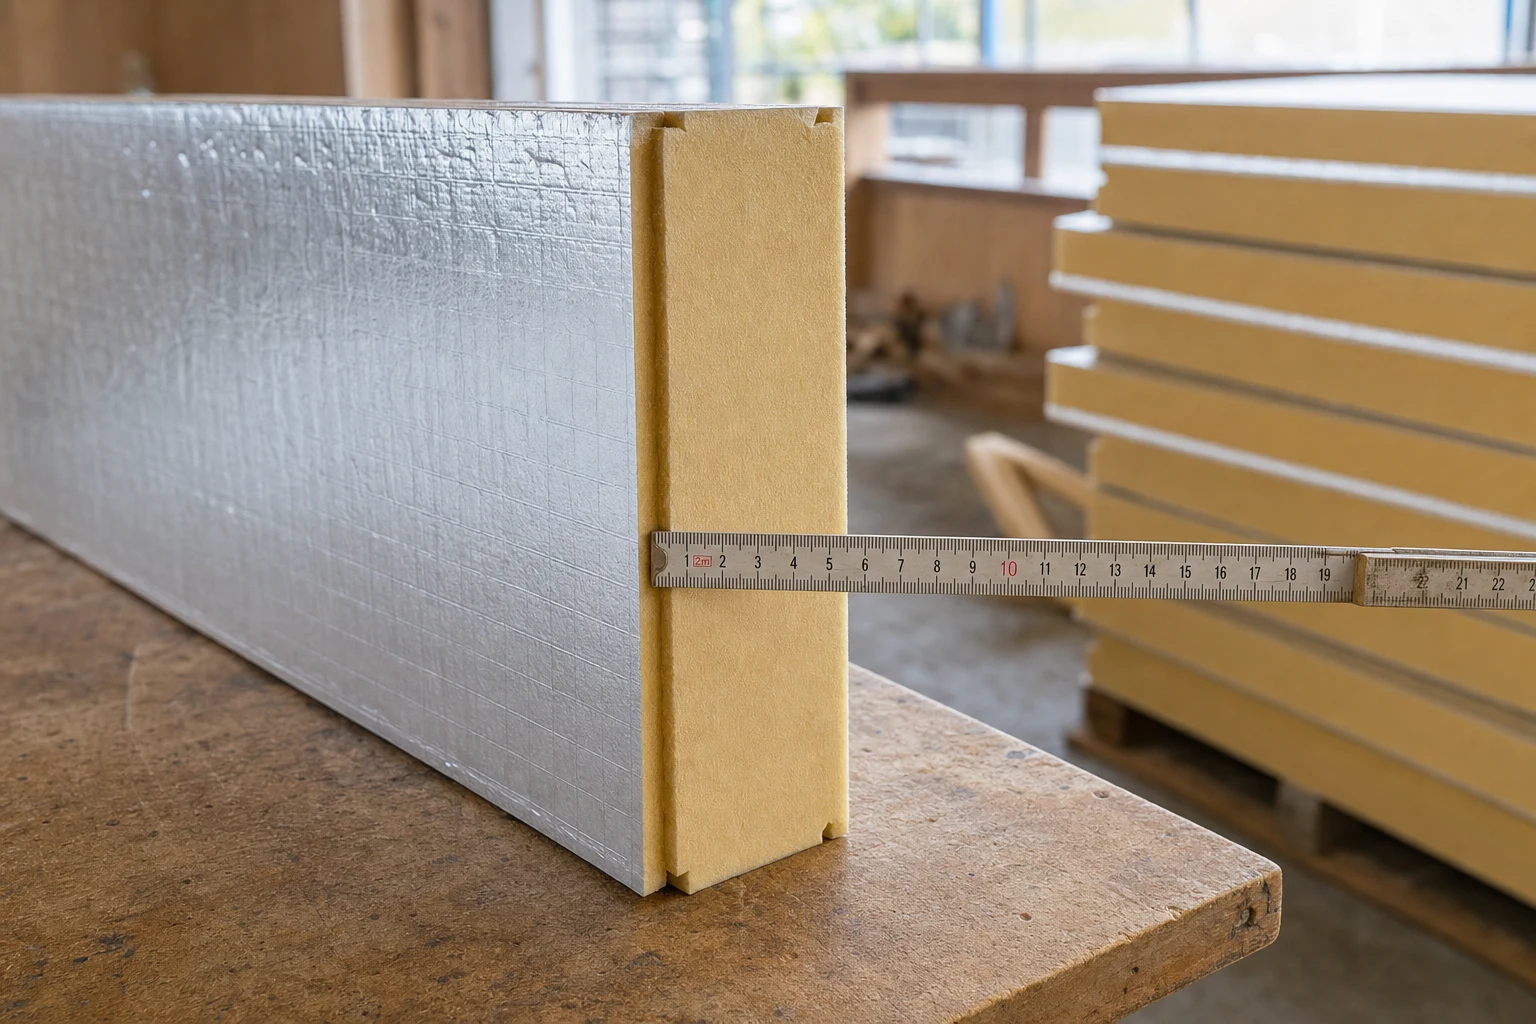
A termPIR® AL board has a gas-tight facing on both sides. It is not sheet metal but a thin laminate of paper and aluminium, about 0.1 mm thick — yet it does not let water vapour through. It is the board that is tight, though, not the slope. Every joint and every cut has to be sealed with aluminium tape (the shop runs in Polish), and the cut pieces sealed with expanding foam.
Do the sums before you order. The catalogue gives tape consumption of 1.25–1.5 linear metres per square metre of boards, and a roll holds 45 m. A 150 m² slope means 190–225 m of tape, i.e. five rolls.
And the membrane? The manufacturer recommends it under the boards where there is a high-humidity room below the roof — a bathroom or a sauna in the loft. Boarding gives you an advantage here: you roll the membrane out flat, on the boarding, before the first PIR board goes down. Whether your roof needs it is for the designer to decide.
Renovating a roof where old bituminous felt lies on the boarding? It is a vapour barrier in itself. Whether it can stay under the PIR boards is judged on site — by the condition of the boarding and of the felt itself.
One thing is not open to discussion: the boarding must be dry. Water shut in under a gas-tight facing has no way to evaporate upwards.
Counter-batten and a screw through everything — that is what holds this roof
The PIR boards are not screwed down separately. They are held by the counter-batten, pulled down to the rafter with screws: through its own timber, through the insulation, through the boarding, right into the rafter. That makes it a load-bearing element of the covering, which is why it must be at least 40 mm thick; the manufacturer’s 2025 brochure gives a minimum cross-section of 60 × 40 mm.
The spacing from the catalogue is three screws per linear metre of counter-batten, i.e. every 35–40 cm, and one more at the edges of the slope. Every second one goes in at an angle of 67°. The angled screw takes up the force with which the covering pulls the counter-batten down the slope; the perpendicular one presses it against the board. That angle is not something you hold by eye — that is what the jig for timber screws is for.
Boarding adds one complication here: from above you cannot see the rafters. Before you cover the boarding, snap a chalk line along the centreline of each rafter and transfer the marks to the eaves and the ridge. A screw that has missed the rafter is holding on to the boarding alone.
And it adds 20 mm to the screw length. For the counter-battens we select Ø8 mm timber screws of two types: with a countersunk head and with a washer head. The countersunk-head screw goes in at an angle of 67°, the washer-head screw perpendicular. Each type has its own length in the selection table, and that length depends on two things: the board thickness and whether there is boarding under the boards. The table from the shop product pages is worked out for a 40 mm counter-batten:
| PIR board thickness | Without boarding: countersunk head | Without boarding: washer head | With boarding: countersunk head | With boarding: washer head |
|---|---|---|---|---|
| 120 mm | 8×220 mm | 8×200 mm | 8×240 mm | 8×220 mm |
| 140 mm | 8×240 mm | 8×220 mm | 8×260 mm | 8×240 mm |
| 150 mm | 8×260 mm | 8×240 mm | 8×280 mm | 8×260 mm |
| 160 mm | 8×260 mm | 8×240 mm | 8×280 mm | 8×260 mm |
| 180 mm | 8×280 mm | 8×260 mm | 8×300 mm | 8×280 mm |
| 200 mm | 8×320 mm | 8×280 mm | 8×340 mm | 8×300 mm |
Read it in three steps. The row is the thickness of your board. The pair of columns is the substrate: a roof with boarding is always “with boarding”, because the screw has to pass through the timber board and only then anchor in the rafter — hence exactly 20 mm more in every row. The last step is the head type, and there is no shortcut here: in the table the countersunk-head screw — the angled one — is 20 mm longer than the washer-head one, and for some thicker boards 40 mm longer, so order each type in the length from its own column. For a 150 mm board on boarding that is 8×280 mm with a countersunk head and 8×260 mm with a washer head.
In the board manufacturer’s catalogue you will also find longer screws for this build-up, for example 300 mm for a 150 mm board without boarding. That is a newer and more expensive item in its range; we select from the two types in the table above.
The table answers the question of length. How many screws and at what spacing is confirmed by the roof structure design, because it depends on the wind zone and the weight of the covering.
The screws are in the shop in lengths from 140 to 400 mm, in 20 mm steps, in packs of 50.
What board thickness? Boarding will not replace a centimetre of insulation
In this build-up the over-rafter PIR board is the only insulation in the slope, so its thickness is the roof’s entire result. The manufacturer’s table is short: termPIR® AL (λD = 0.022 W/(m·K)) at 140 mm gives U = 0.15 W/(m²·K), and at 150 mm — 0.14. The requirement of the Polish WT 2021 building regulations is 0.15. So a hundred and forty passes without a point to spare, and the table knows nothing about the several hundred screws passing through the insulation.
That is why on an over-rafter roof you should aim for 150 mm. How much the fixings alone take away, we worked out in the piece on the mistakes that leave a roof’s U-value worse.
Boarding changes nothing in this arithmetic. A timber board 24 mm thick, with λ for timber of about 0.13 W/(m·K), has a resistance of R = 0.024 / 0.13 ≈ 0.18 m²·K/W, while the 150 mm PIR board alone has R = 0.150 / 0.022 ≈ 6.82 m²·K/W. The boarding adds just under 3 per cent — as much as four millimetres of foam. It is an estimate and the design is what binds, but the conclusion stands: boarding is a substrate, not insulation.
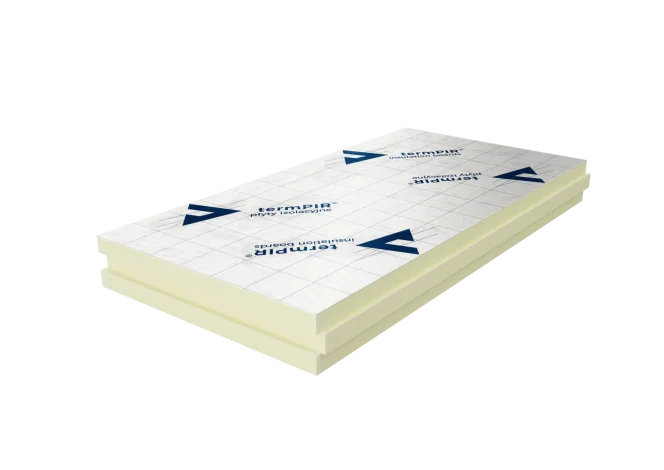
At 150 mm there are 4 boards in a pack: 2.88 m² in the 600 × 1200 mm format or 11.52 m² in the 2400 × 1200 mm format. For a roof slope take the TAG edge, i.e. tongue-and-groove, and remember that boards with a profiled edge cover 2–4 per cent less than their dimensions suggest. The area of the slope can be worked out with the pitched roof calculator, and current thicknesses, availability and prices are shown on the termPIR® AL page in the shop.
Boarding and fifteen centimetres of PIR raise the roof. If every centimetre of height has been accounted for, termPIR® MAX 19 AL has a lower lambda (λD = 0.019 W/(m·K)) — it is a made-to-order product, not an off-the-shelf one. And when the target is the passive standard, the thicknesses start higher: an over-rafter build-up for a passive house.
Eaves and ridge: where this roof starts and ends
Installation starts with the eaves board. The first row of PIR boards bears against it, so it has to stand proud of the substrate by the thickness of those boards — on boarding you measure from the top of the timber boards, not from the rafters. The underlay is run out at the bottom with some spare, so that water ends up in the gutter.
The eaves is also where the continuity of the insulation is decided. The rafters and the boarding run out beyond the wall, so in the line of the wall they cut through the insulation layer, and the gaps between the timber boards are a ready-made channel for air. At this point the catalogue shows the wall plate insulated with termPIR® AL board and a slope that meets the wall insulation; the cut pieces are sealed with foam. You will find the drawing in the junction knee wall — over-rafter roof.
At the ridge the boards from both slopes are cut on the bevel so that a gap of 5–15 mm is left between them. It is filled with expanding foam and the joint is taped over. From there on it is as on the slope: underlay, counter-battens, tile battens. The section is shown in the junction ridge in the over-rafter system.
That leaves the tile battens. They are screwed to the counter-battens with screws no longer than the combined thickness of batten and counter-batten — a longer one will come out underneath and puncture the underlay. With a heavy covering the catalogue also requires the battens to be fixed directly to the two outermost rafters.
Mistakes that happen specifically on boarding
Most come from habits carried over from a roof with no insulation above the rafters.
- Underlay on the boarding, “because that’s how it’s always been done”. It ends up under the PIR boards instead of over them and stops protecting the insulation.
- PIR boards on wet boarding. After rain the boarding has to dry out before you cover it.
- A screw from the “without boarding” column. It is 20 mm too short, and those 20 mm come off the anchorage in the rafter.
- A screw beside the rafter. Without marked-out centrelines, some of the fixings end up in the boarding alone.
- All the screws perpendicular. Every second one should go in at 67°, off the jig.
- Cut pieces with no foam and joints with no tape. Gaps are most numerous at the chimney and the roof windows.
Order first, shopping second
Over-rafter insulation on boarding is not a separate technology. It is the same roof as without boarding, with three corrections: the underlay moves from the boarding onto the PIR boards, the screws get 20 mm longer, and the rafters have to be marked out before they disappear under the insulation. The rest — tape on every joint, a counter-batten of at least 40 mm, 150 mm of board instead of 140 — applies just the same.
Want to see this method set against mineral wool and XPS? Have a look at the technical guide to over-rafter insulation. And if you already have the slope dimensions and the boarding thickness, we will work out the rest together.
🤝 Contact a BOKKA technical advisor — we will select the thickness and format of termPIR® AL boards and the screw length for your build-up with boarding, and work out the tape for the whole slope.
Sources:
- Technical catalogue for termPIR® insulation boards — residential buildings (Gór-Stal, 2022): installation instructions for a pitched roof in the over-rafter system (stages 1–7), number of screws per metre of counter-batten, section and knee wall details
- termPIR® brochure 2025 (Gór-Stal): table of U-value and resistance RD for boards with a gas-tight facing, pitched roof detail
- Technical data sheet and Declaration of Performance for termPIR® AL (DoP no. termPIR/AL/18, standard EN 13165+A2) — λD, thicknesses 20–250 mm, FIT / LAP / TAG profiles
- Selection table for Ø8 mm timber screws for over-rafter insulation (40 mm counter-batten, build-up without and with boarding, countersunk and washer head) — product pages in the BOKKA shop
- Regulation on the technical conditions to be met by buildings and their siting (WT 2021) — U ≤ 0.15 W/(m²·K) for roofs
- PN-EN 1991-1-4 — Eurocode 1: wind actions (roof zones and fixing spacing)
Frequently asked questions
Do PIR boards on a roof need full boarding underneath?
In what order do the layers of over-rafter insulation on boarding go?
Which counter-batten screws for a 150 mm PIR board on boarding?
Does boarding let you use a thinner PIR board?
Related products and systems
Read next
PIR roof insulation — 6 mistakes that leave the U-value worse
150 mm PIR board — what U-value it gives and where it really makes sense
PIR vs XPS — foundations, inverted roofs and ground floors