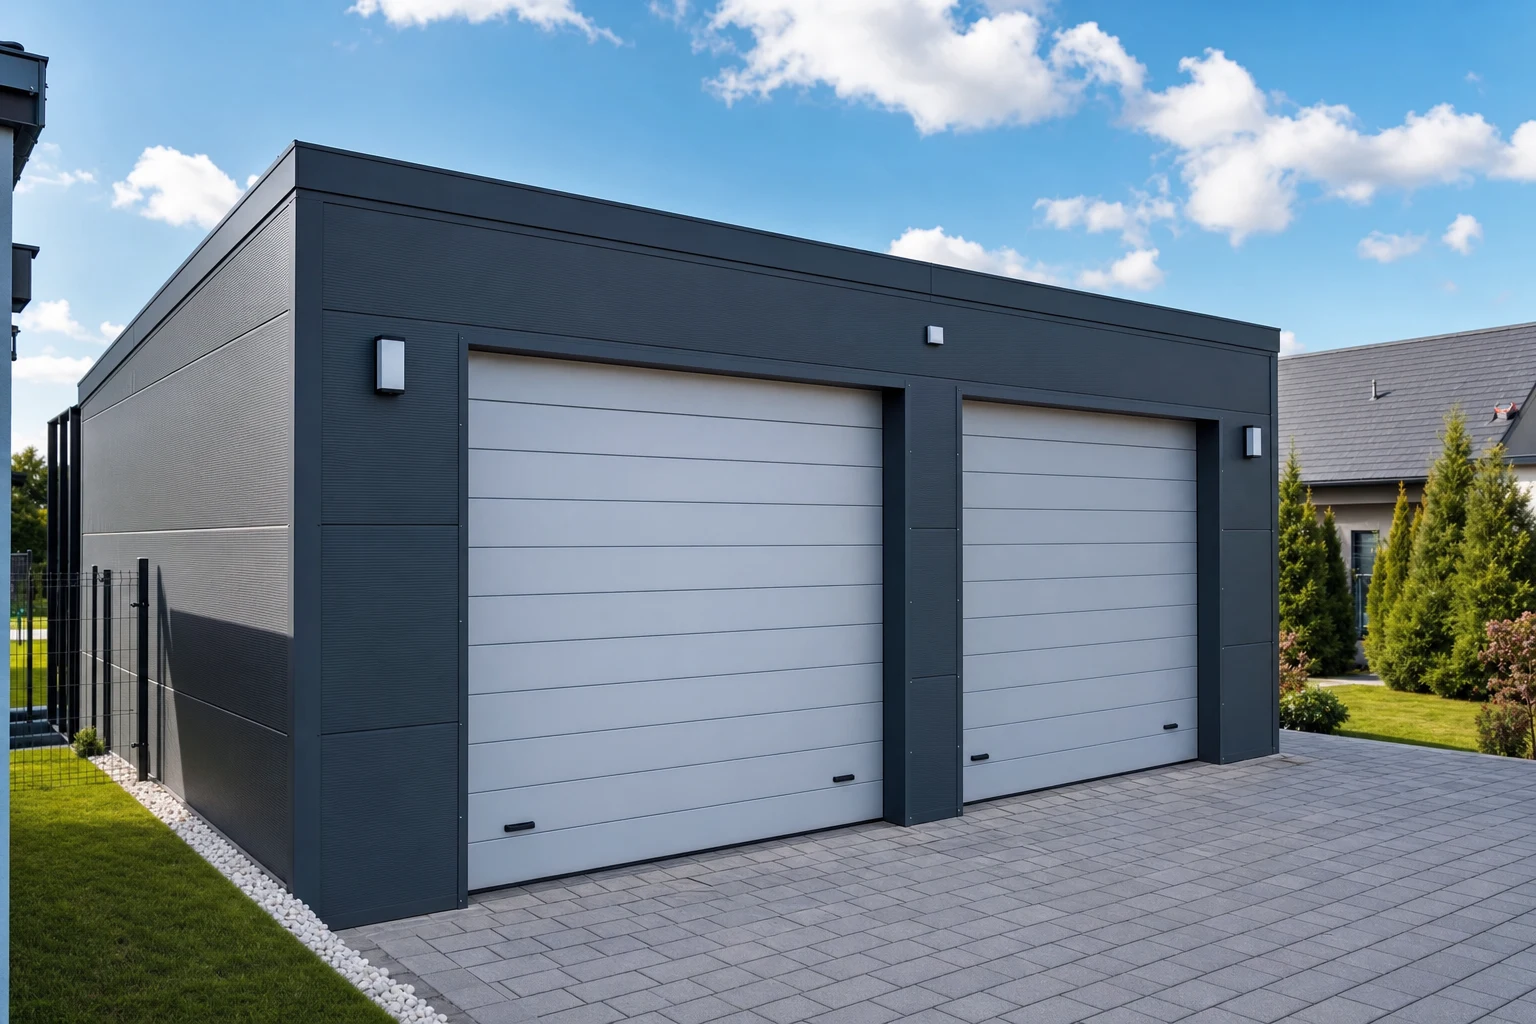
The most common sandwich panel installation mistakes — what to watch on site
A year after handover you walk along the hall’s facade and see rust-coloured streaks. They trail from an edge next to a window, as if someone had dragged a wet, pigment-soaked rag across the panel. The panel is new, the coating was chosen to last for years — where did this come from?
Most often it is not the panel that failed. What failed was twenty minutes on site: someone cut with an angle grinder because the saw stayed in the van, someone did not sweep up the swarf, someone tightened the screws by feel. None of these mistakes comes from bad will — they all come from being in a hurry. And all of them show up only a year later, when the crew is long gone from the site.
Below are the eight mistakes we see most often. Each in the same rhythm: what the crew does, what happens later, and how it is done correctly according to the installation manual of Gór-Stal — the manufacturer of the insPIRe sandwich panels in our range. It is worth going through this list with your contractor before the first cut.
“The grinder cuts faster” — and that is exactly the problem
End of the day, the last panel needs trimming. The saw stayed in the van, the grinder is within reach. One minute, a shower of sparks, job done.
Except that a grinder disc does not so much cut as burn through. It heats the cutting zone so much that it destroys the organic coating and the zinc layer — precisely what was supposed to protect the steel for decades. The manufacturer’s manual explicitly forbids the use of angle grinders and other tools that overheat the cutting zone.
Why does this matter so much? Zinc acts as the edge’s electrochemical bodyguard: even an exposed cut edge corrodes only within its own thickness, after which the process stops by itself. A slight bloom on the edge is therefore normal and harmless. But an overheated edge loses that protection — the corrosion does not stop; it creeps onto the surface, under the coating you carefully matched to the environment.
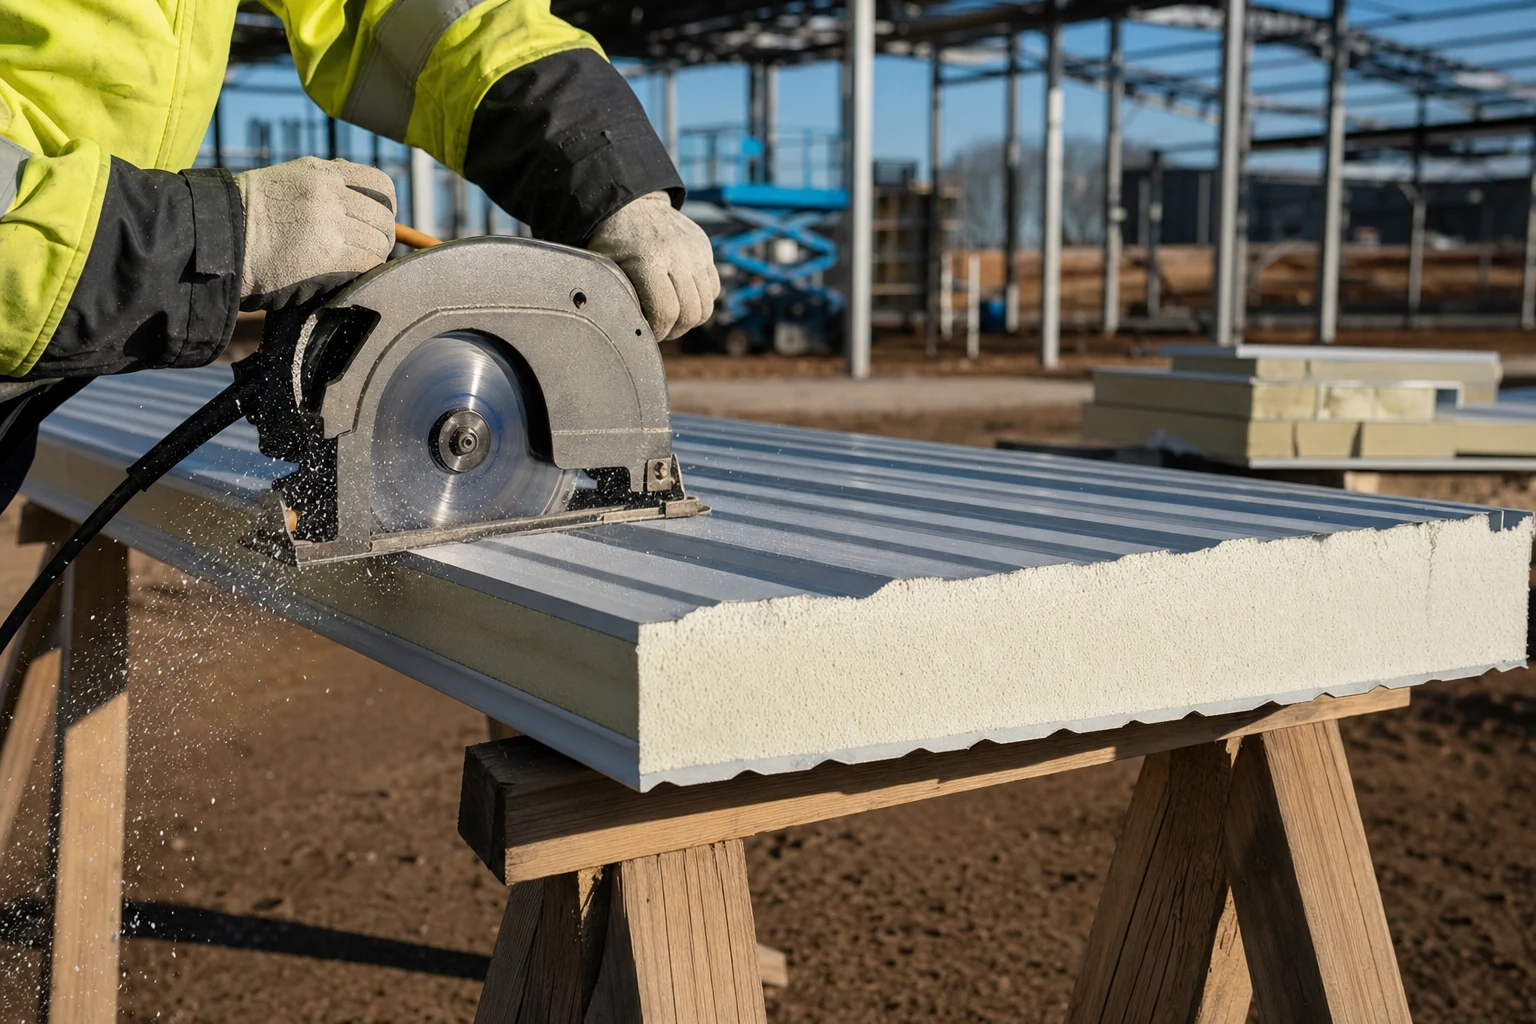
Cutting must be done “cold” — with a tool that shears rather than burns. That means: a saw with a fine-toothed blade or a circular metal saw with accurate guiding, cutting on trestles lined with soft material such as felt, and the edge protected immediately after cutting. Flashings are cut with snips — manual or cordless. And one hard “no”: panels are never trimmed on the roof or on the scaffolding.
Swarf — rusty freckles on a brand-new facade
Drilling for the fasteners, glittering dust settles on the facing. “The rain will wash it off,” thinks the crew, and moves on.
It will not. After the first dew the steel filings start to rust and leave rusty freckles on the panel. It looks as if the facing were corroding — but it is the swarf corroding, and it can leave a permanent imprint in the coating.
The manual is unambiguous: remove swarf after cutting and drilling immediately. Not a single particle may remain under the saddle washer — the profiled washer through which the screw presses the roof panel down on the crest of the rib — because it creates a gap exactly where things were supposed to be tight. A practical trick from the same manual: instead of drilling through the sheet with a bit, you can pierce it with the screw and a hammer — less swarf, less sweeping. From the same family of mistakes: no welding work near the panels, and soft soles on everyone who steps onto the roof.
The panels will wait for installation? Not just anywhere, not just anyhow
Delivery on Friday, installation from Wednesday. The packs land on uneven ground, tightly wrapped in factory film, in full sun. It looks tidy.
A few weeks later — not necessarily. Water that has got in between the panels and has no way to evaporate does its work: white rust (a white bloom of zinc corrosion products) and blistered paint. And packs stacked one on top of another press imprints into the facings.
Correct, according to the manual: level, hardened ground and a slight fall along the pack’s longer edge, so water can drain freely. Instead of airtight film — a breathable textile tarpaulin that lets air through and lets moisture escape. Packs are never stacked on site, and partially unpacked ones must each time be protected against sun, rain and wind. And the overriding rule: the shorter the panels wait, the better — the protective film has its own clock too, more on that in a moment.
A screw driven “good and tight” — the washer was meant to seal, not to suffer
A powerful screw gun, pressure “to make sure” — the washer dented into the sheet. Next to it a second screw, barely snugged, because the battery was dying. Both will leak, each for a different reason.
In a self-drilling fastener it is not the head that seals but the washer with its EPDM layer — a synthetic rubber which, when properly compressed, fills the joint and eliminates play between panel and structure. Crushed, it loses elasticity. Loose, it does not press at all. The result a year later is similar: damp rings around the fasteners, and around badly overdriven screws — dents and a rippled facing.
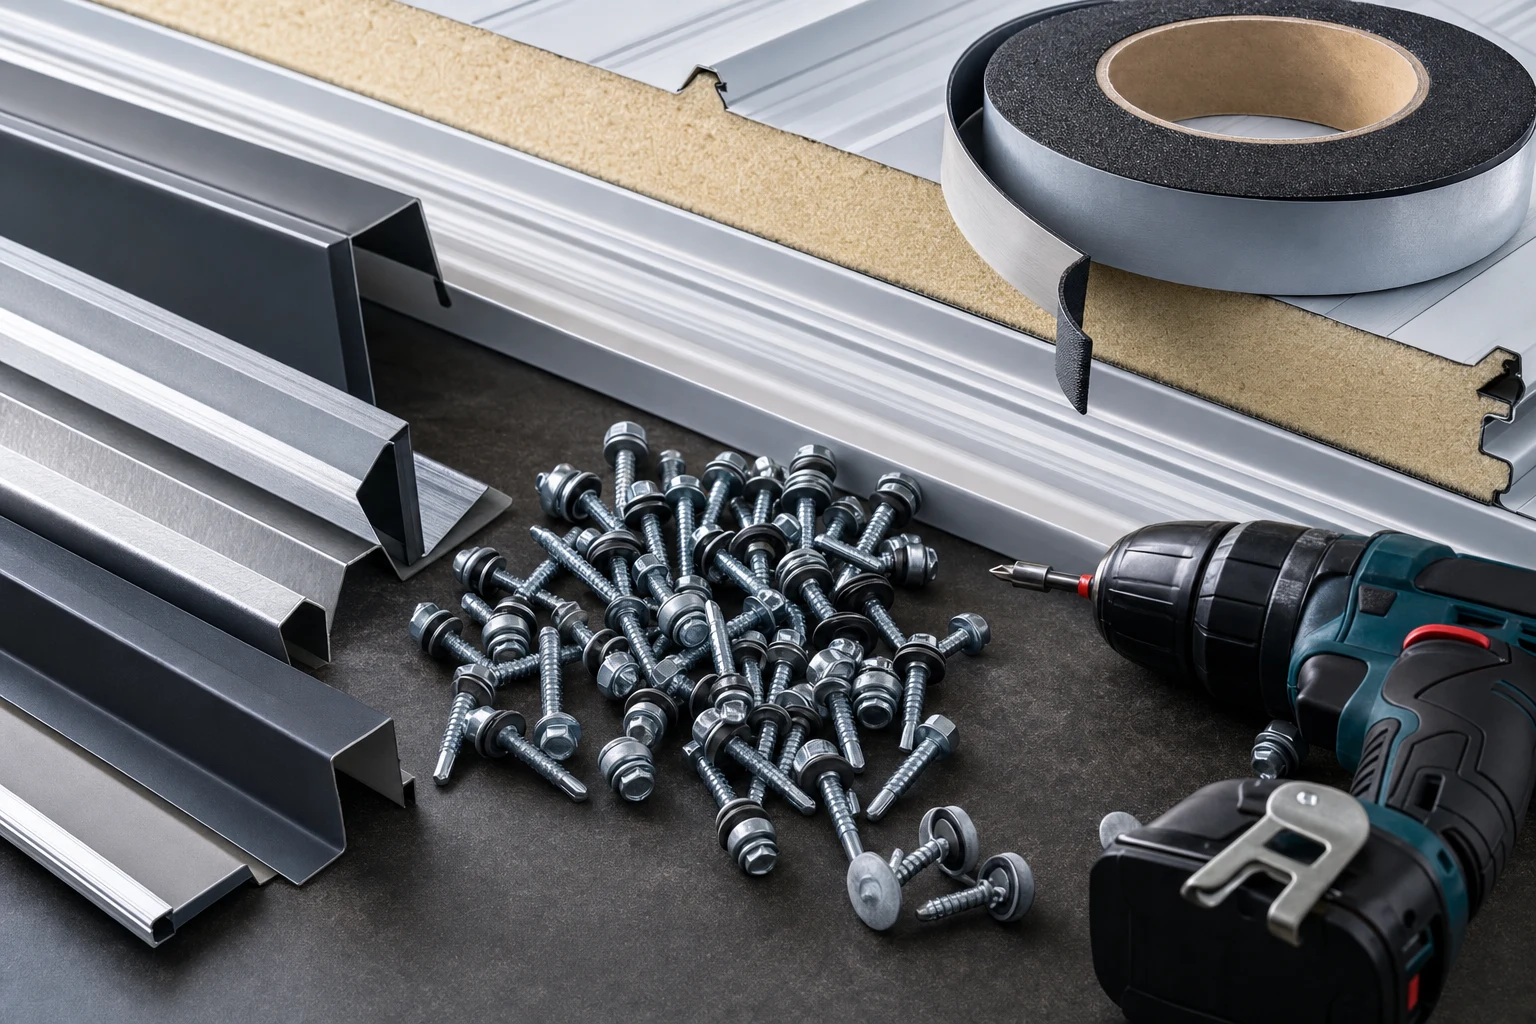
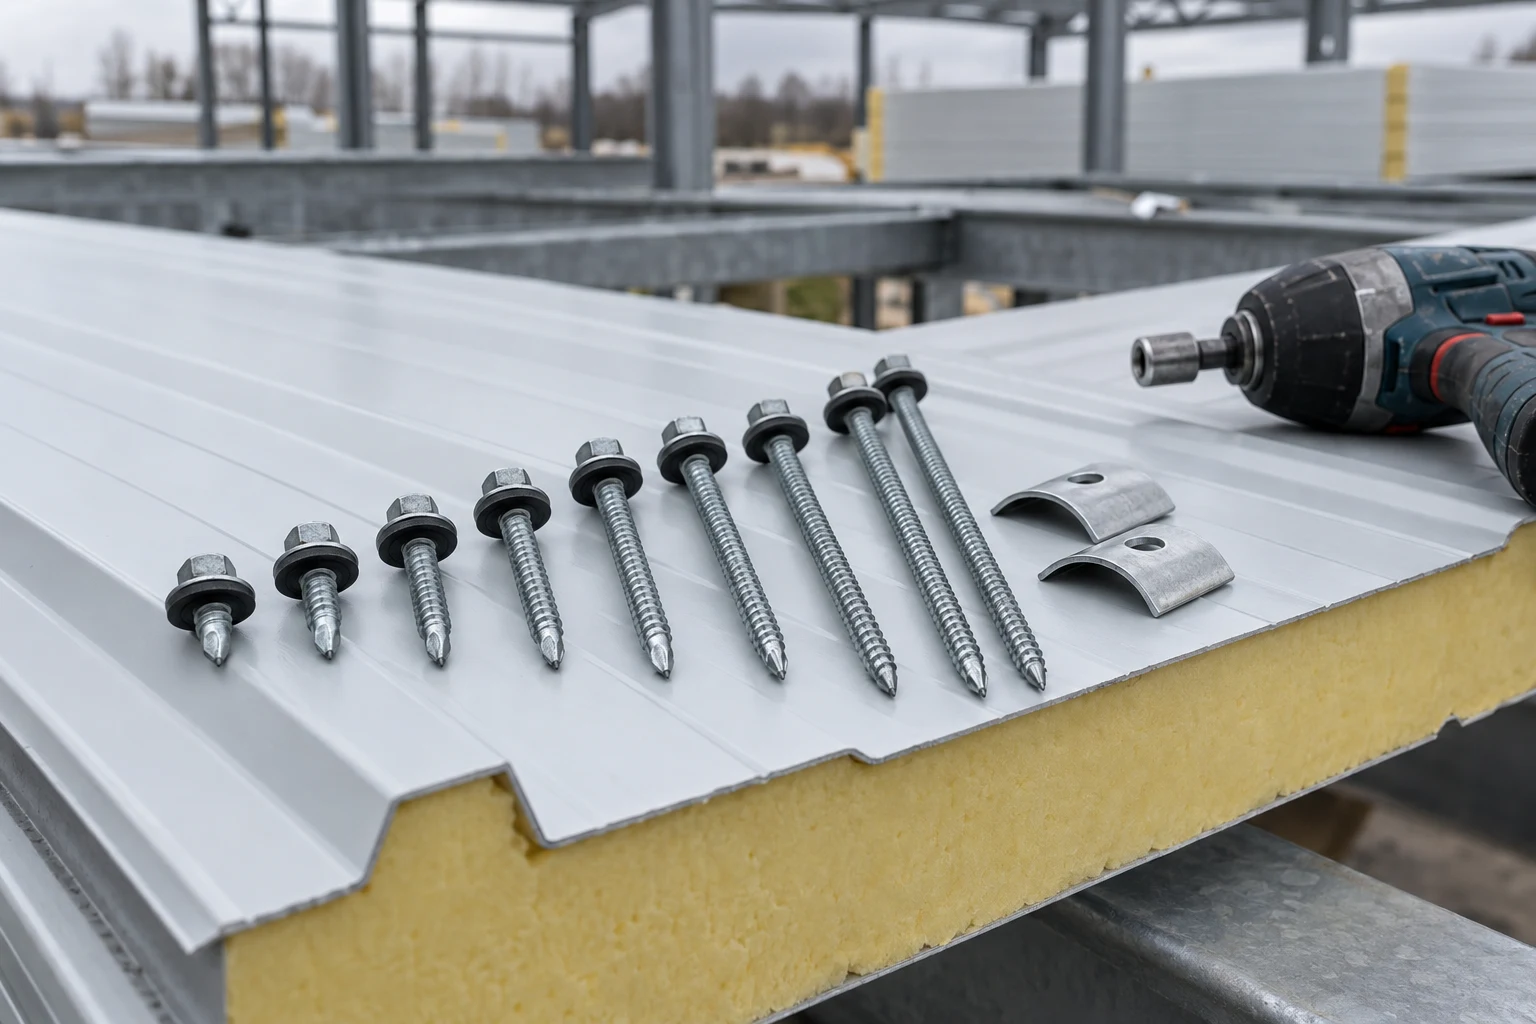
The manual says: screw perpendicular to the panel, a screw gun with depth control and a clutch, so you do not overdrive the screw and strip the thread in the purlin. On the roof, fasteners exclusively on the crest of the rib, with the saddle washer placed exactly in the middle of the crest. After the roofing work is finished — check the tightening again, because the panels “settle” on the structure. In buildings with permanently high humidity or an aggressive atmosphere, stainless fasteners are used. How many fasteners and where — that follows from the design and the load tables we write about in the article on load capacity and spans, and an overview of the hardware itself is in the piece on accessories and fixings.
The hall cracks at night? Tape was missing on the structure
The building is handed over, in use. At night, as the structure cools, loud cracking comes from the roof and walls. It is not ghosts and not a panel defect — it is sheet metal working directly against the steel of the structure.
The manual demands it absolutely: before installation, self-adhesive sealing tape must be applied to every purlin, rail and column. It is what compensates for the mutual movement of panel and structure — without it you are left with cracking noises and abraded coating. The second thing from this family: sealants. In critical spots a roofing sealant approved for exterior use and for contact with sheet metal is used — not silicone — and sealant work is carried out at temperatures above 4°C. In the locks, especially on roofs and in cold-store buildings, the joint is additionally closed with butyl tape: a plastic sealing tape that does not harden over time.
A lock closed “almost” — you will see the difference in winter
The last panel of the day goes in reluctantly. “Almost” pressed home: the lock looks closed from the outside, but the polyurethane gasket inside is not touching the core of the neighbouring panel.
In winter this joint will point itself out. A cold line will appear along the lock, and on it a streak of condensate — the dew point does its work. A thermal bridge along the full length of the panel is a high price for one joint not pressed home.
Correct: the panels are pressed together so that the gasket in the lock bears with its whole surface against the neighbouring panel, but without damaging the edges. At the same time an expansion gap must remain between the metal facings: at least 1 mm when installing in warm weather (approx. 25°C), and as much as 1.5 mm when installing in frost (−5°C) — because the panels move thermally and need room. On the roof the locks are additionally “stitched” with short screws with a sealing washer, every 40 cm or closer. And watch the start: the geometry of the whole roof plane is set by the first panel — the position of the following ones can hardly be corrected any more, so spend more time setting it than on the next three together.
Protective film: “we’ll strip it at the end” means “it stays forever”
The plan sounds reasonable — the film protects the facade throughout installation and comes off spotless just before handover.
The sun has a different plan. UV radiation vulcanises the film and its adhesive: the film changes colour, comes off in narrow strips, the adhesive stays on the sheet, and the paint can suffer along the way. The manual sets hard limits: the film must be removed no later than 60 days from the panels’ production date and, regardless of that — before installation or immediately after a given panel is installed. The film on the internal facing comes off before the panel is even placed on the structure. There is a lower limit too: the film is not removed at temperatures below 0°C, because the adhesive stiffens, delaminates and stays on the panel.
Flashings “for later” — open edges all autumn long
The building is closed up, tight “by eye”. The flashings — window head flashings, copings, corners — are left for a quieter week. The week becomes a month.
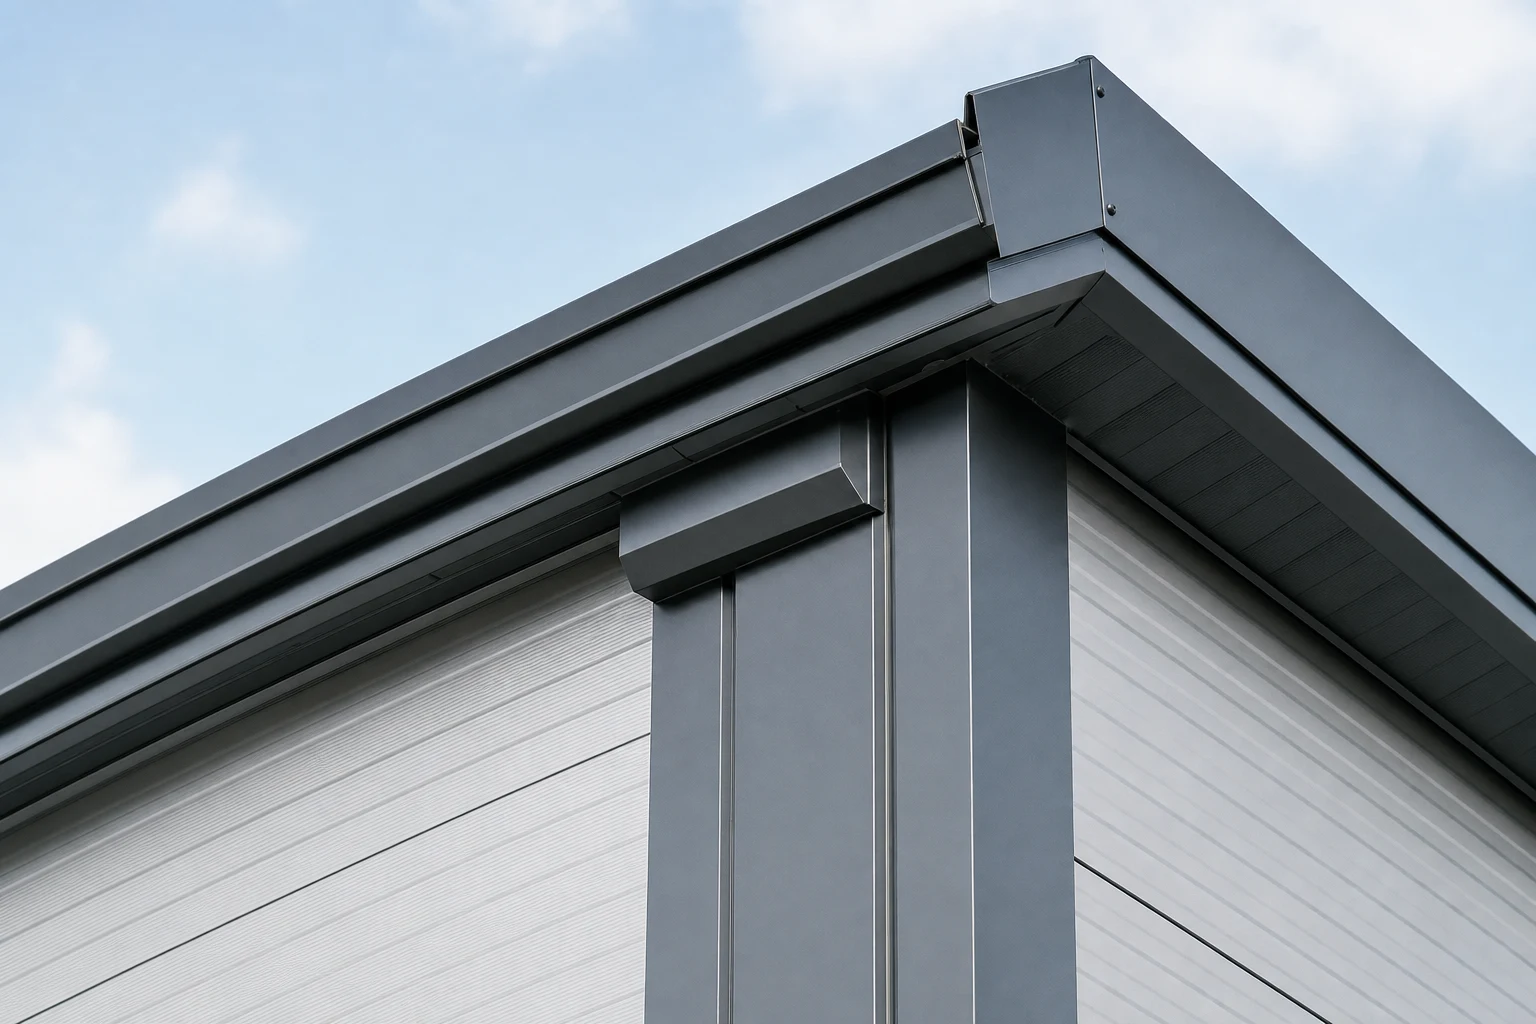
Throughout that time the panels’ cut edges and open joints drink water with every rainfall, and moisture gets where it was never supposed to reach: onto the unprotected sheet edges and towards the core. A flashing is not cosmetics — it closes the edges, directs the water and completes the system. That is why edges are protected immediately after cutting, and flashings are installed in rhythm with the panels, not after everything else. Which flashings are needed and where, we have drawn out in the map of flashing details. A small detail from the manual that is easy to forget: flashings can come film-wrapped too — remove the film before installing them.
What these eight mistakes have in common
None of them requires secret knowledge. They are all the discipline of the last hour of the day: put the grinder away, sweep up the swarf, cover the pack with a tarpaulin, set the screw gun’s clutch, stick on the tape, press the lock home, strip the film, fit the flashing. The manufacturer’s installation manual is a few dozen minutes of reading — the cheapest insurance policy you can buy for your building envelope. And if you are still planning your building, start with the guide to a sandwich panel hall, in which installation is one stage of a larger puzzle.
🤝 Contact a BOKKA technical advisor — we will help put your order together so the panels arrive with the complete set of the right fasteners, gaskets and flashings for your project.
Sources:
- Installation manual for insPIRe sandwich panels — Gór-Stal (transport, storage, cutting, fasteners, gaskets, protective film; updated 03.2026)
- PN-EN 14509 — Self-supporting double skin metal faced insulating panels — Factory made products — Specifications
- PN-EN 1090-2 — Execution of steel and aluminium structures (structure tolerances for the envelope)
- Technical data sheets for GS insPIRe sandwich panels (Gór-Stal)
Frequently asked questions
What should you cut sandwich panels with on site?
When should the protective film be removed from sandwich panels?
How tight should screws in sandwich panels be driven?
Is rust on the cut edge of a sandwich panel a defect?
How should sandwich panels be stored on site?
Related products and systems
Read next
Sandwich panel flashings — a map of details from plinth to ridge
Accessories and fixings for sandwich panels — a complete guide
Sandwich panel screws — how to match the length to panel thickness and substrate