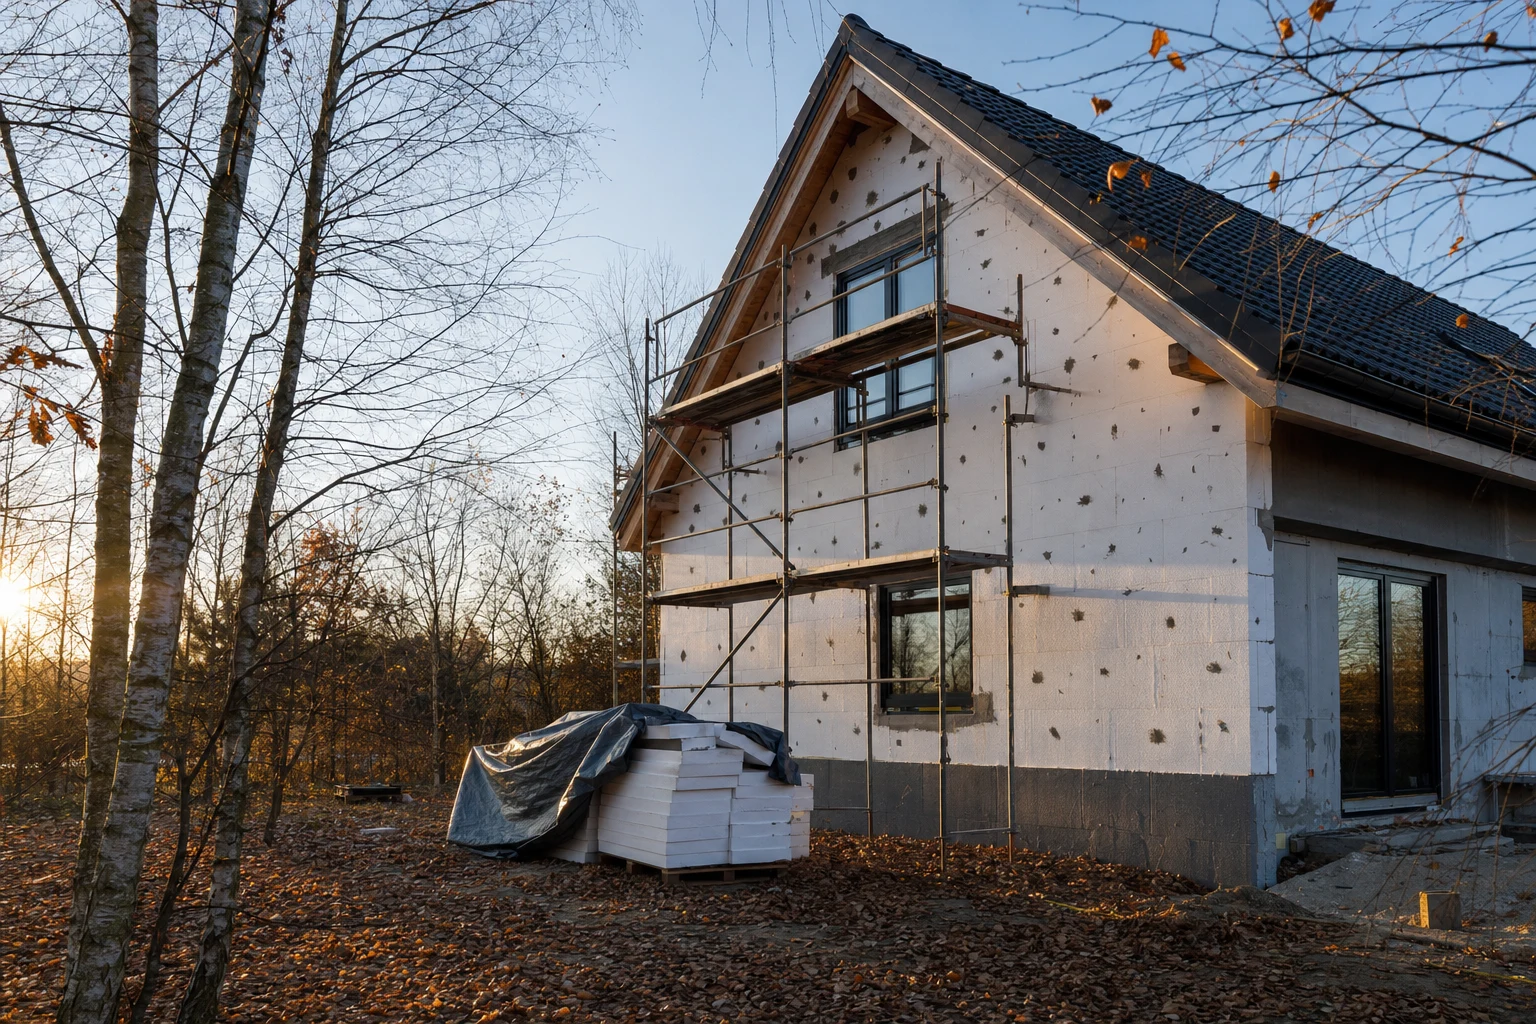
PIR insulated plasterboard — when insulating from the inside makes sense
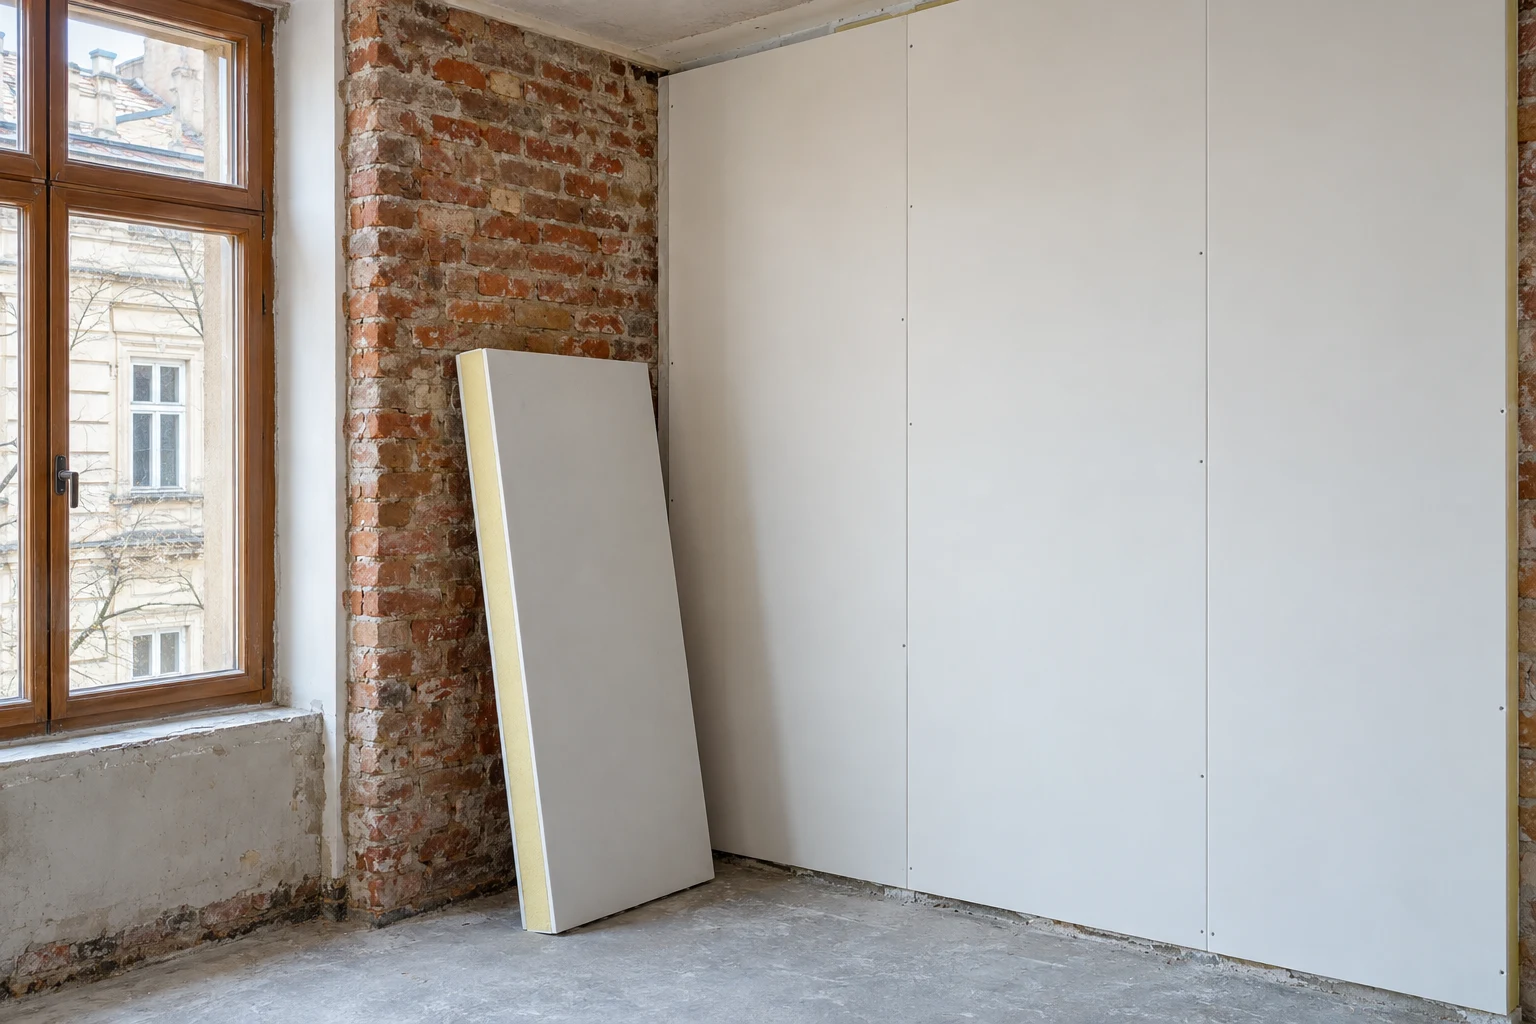
A corner room facing north. In winter the wall is so cold that you pull the bed away from it, and in the corner behind the wardrobe the grey bloom comes back every year.
There is nothing you can do from the outside. The tenement house has cornices and a conservation officer watching over it, so nobody will let you cover the façade. That leaves the inside.
The contractor has a ready answer: PIR insulated plasterboard. Stick it on, fill, paint. He is half right — such a board exists and was made for exactly this job. The other half, the one talked about less often, decides whether three winters from now you have a warm wall or wet masonry hidden behind smooth plasterboard.
What exactly is PIR insulated plasterboard?
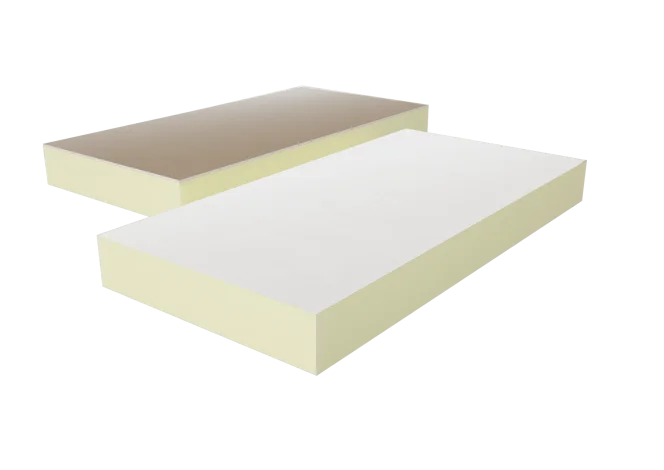
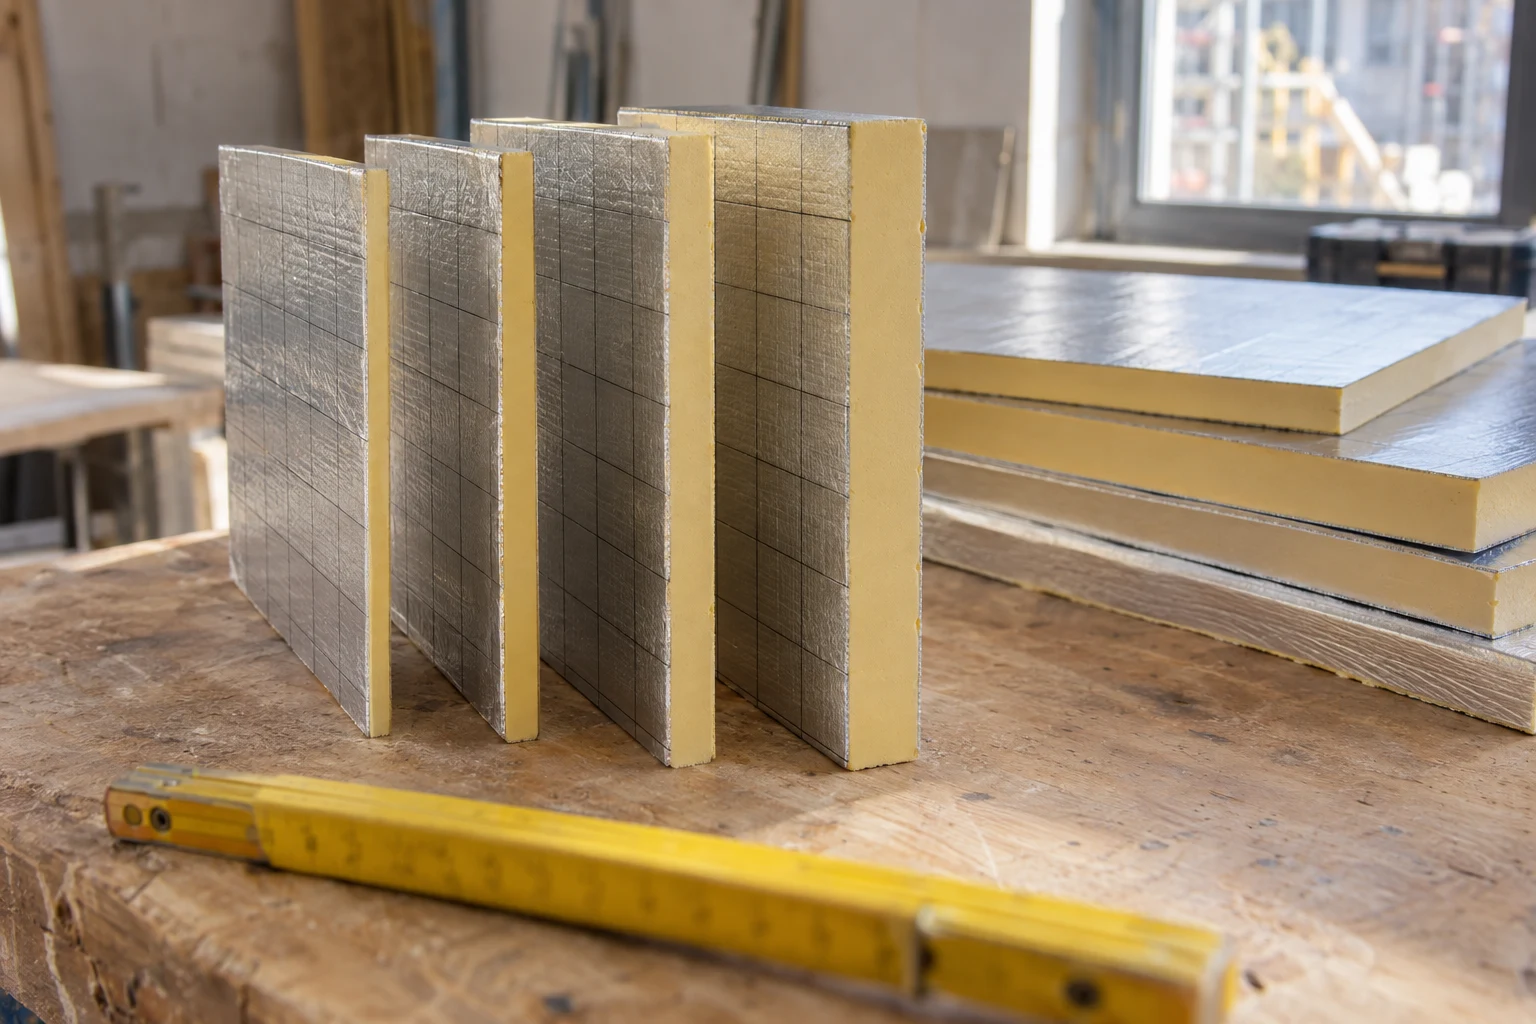
It is a composite board: insulation and finish in a single element. The manufacturer, Gór-Stal, calls it termPIR® AL GK; in the shop we list it as AL+GK (GK being the Polish abbreviation for plasterboard). Some say “PIR-backed plasterboard”, others “thermal laminate” — it is the same product.
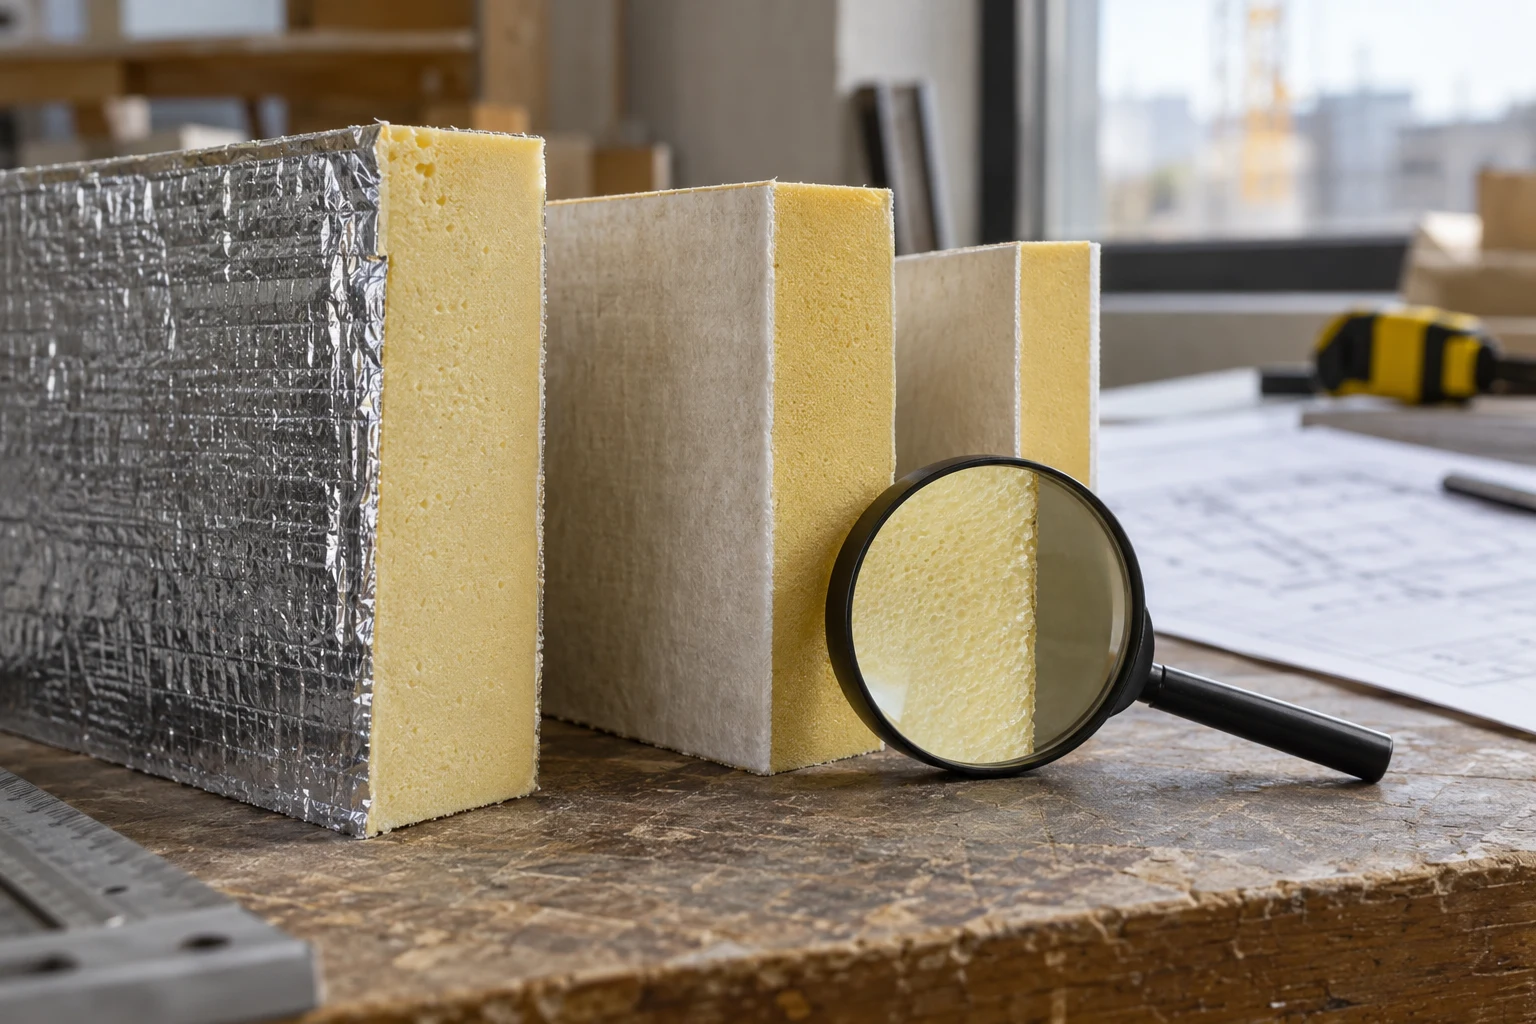
Inside is a core of rigid PIR foam with λD = 0.022 W/(m·K). Lambda is the thermal conductivity: the lower it is, the thinner the layer that will do. On both sides the core is closed by a gas-tight facing based on paper and aluminium — a thin laminate, not sheet metal.
A plasterboard sheet 12.5 mm thick is factory-bonded to one side. That side faces the room: you fill the joints and paint.
The format is 1200 × 2600 mm, i.e. 3.12 m² in one board, with a straight edge (FIT profile). The shop has eight core thicknesses, from 20 to 120 mm, and the boards are bought individually, not by the pack. All the variants are shown on the termPIR® AL+GK product page (the shop runs in Polish).
Everyone asks about fire. The product on its own has reaction-to-fire class F, and in end use, with the plasterboard on the room side, the data sheet gives B-s1,d0.
When does insulating from the inside make sense?
First, honestly: if you can insulate the wall from the outside, do that. Insulation on the façade keeps the masonry warm and breaks the thermal bridges, i.e. the places through which heat escapes faster than through the rest of the wall.
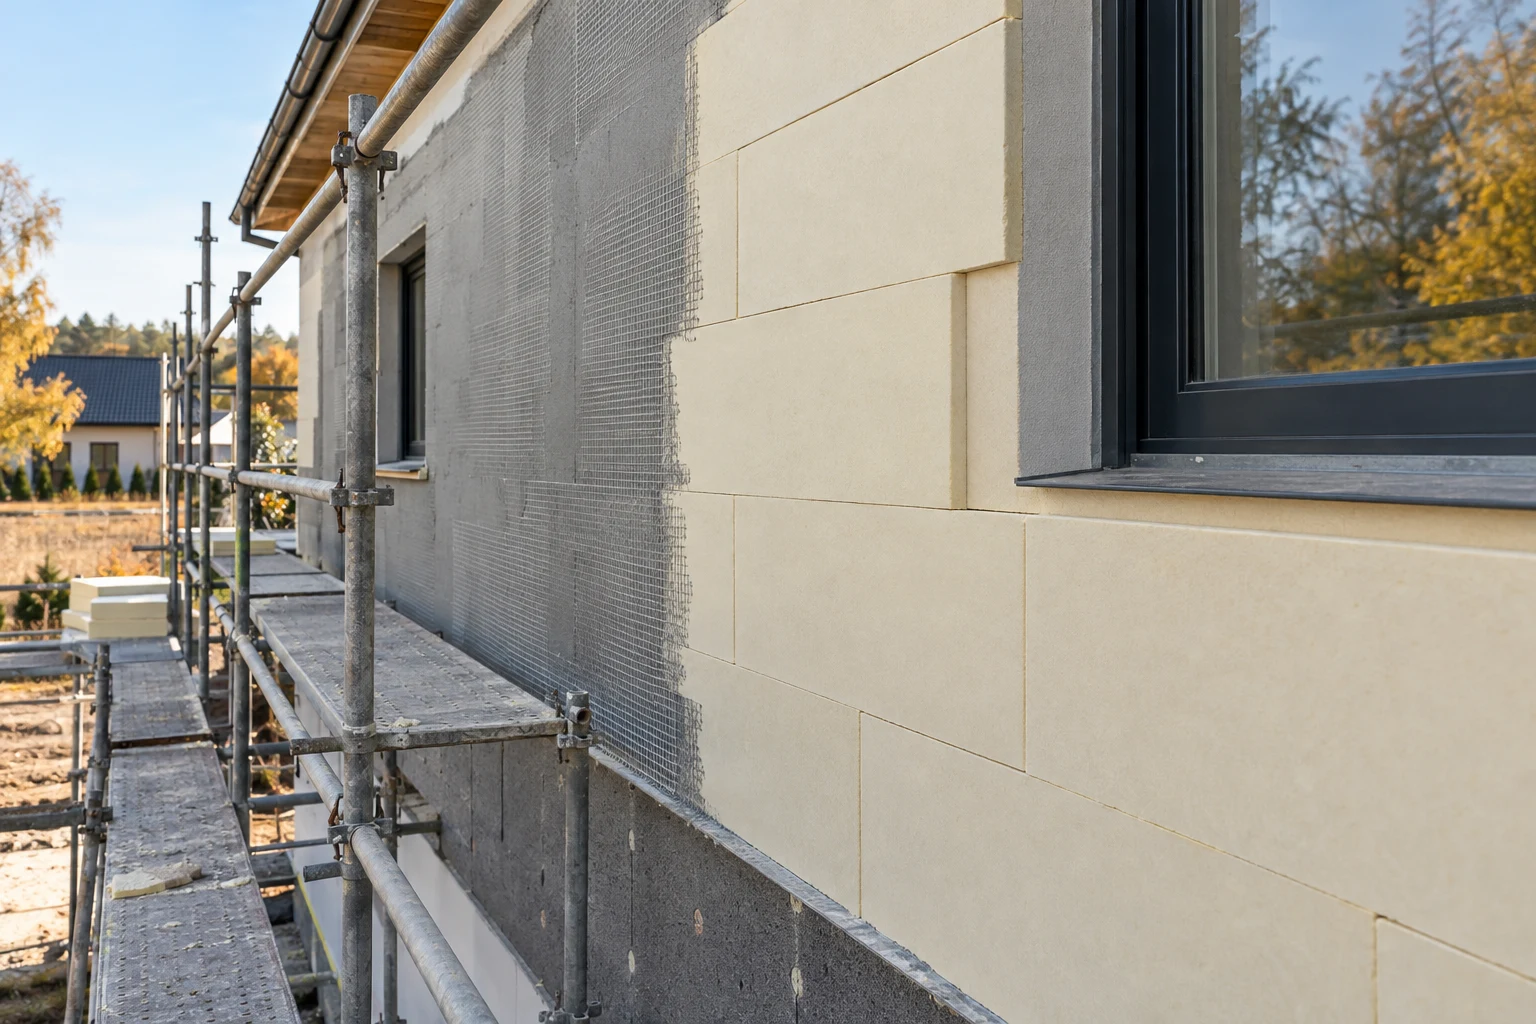
We set out the selection criteria in the guide on insulating old houses. A different product goes on the façade in any case: termPIR® ETX in the ETICS system per ETA 17/0066.
Insulated plasterboard is for situations in which the façade may not or cannot be touched:
- a heritage building under the conservation officer’s protection — cornices, pilasters and old brick may not be covered;
- a tenement house in a historic centre, where the local zoning plan requires the appearance of the façade to be kept;
- a wall on the plot boundary, with no access from the outside;
- a single flat in a building whose façade nobody is going to insulate in the coming years.
It is always a choice made of necessity. And always with the same caveat: before you stick anything on, you need to know what will happen to the moisture.
What happens to water vapour when the insulation is on the inside?
Until now the masonry was warmed from the room. After insulating, it is left on the cold side of the insulation and in winter is colder than it has ever been.
The air in a flat carries water vapour — from cooking, washing, breathing. The dew point is the temperature below which that vapour turns into water. If warm, moist air finds a way behind the board, it meets cold brick and condenses there. You will not see that. You will see the consequences.
This is where the facing does its work. The aluminium laminate is gas-tight, so practically no vapour will pass through the board itself. But a wall is not one board. It is several boards, the joints between them, the perimeter at the floor and the ceiling, the window reveals, the socket boxes and the pipes.
A tight board does not yet make a tight wall. Success is decided by the continuity of the layer, not by a figure on the data sheet.
The second problem sits in the masonry itself. Old walls often draw moisture up from the foundation, because they have no damp-proof course. Insulating from the inside will not remove that water — the system permits installation only on dry masonry.
That is why this build-up starts with a hygrothermal analysis of the specific wall. It is done by the Glaser method to PN-EN ISO 13788 (which checks whether vapour will condense within the element) or by dynamic simulation. It is this analysis that sets the greatest permissible thickness of insulation. The manufacturer says so outright: on the system drawings there is no dimension next to the board, only the note “thickness according to the hygrothermal analysis of the wall”.
How much warmth does it give and how much room does it take? Let us do the sums
The thermal resistance of a layer is R = d / λ. For a 50 mm core: 0.050 / 0.022 = 2.27 m²·K/W. The data sheet gives a declared RD = 2.30 for this thickness, and those are the values we stick to in the table. The plasterboard is not in the calculation — λD applies to the core alone.
| PIR core | Whole board with plasterboard | RD [m²·K/W] | U of the layer alone [W/(m²·K)] |
|---|---|---|---|
| 20 mm | 32.5 mm | 0.90 | 0.93 |
| 30 mm | 42.5 mm | 1.35 | 0.66 |
| 40 mm | 52.5 mm | 1.85 | 0.50 |
| 50 mm | 62.5 mm | 2.30 | 0.40 |
| 60 mm | 72.5 mm | 2.75 | 0.34 |
| 80 mm | 92.5 mm | 3.70 | 0.26 |
| 100 mm | 112.5 mm | 4.65 | 0.21 |
| 120 mm | 132.5 mm | 5.55 | 0.17 |
The last column comes from the manufacturer’s table and counts the insulation alone with the surface resistances: U = 1/(Rsi + RD + Rse). For 50 mm: 1/(0.13 + 2.30 + 0.04) = 0.40. The masonry is not in this calculation. Your wall adds its own resistance, so the result for the whole element will be better — this is an estimate, and the design is what binds.
The line of calculation is shown in the guide on how to calculate the U-value of a building element, and the U-value calculator will do the sums for you.
It is tempting to take the thickest. Of a new external wall the Polish WT 2021 building regulations require U ≤ 0.20 W/(m²·K), so the table suggests 100–120 mm. Except that from the inside it works differently: the thicker the insulation, the colder the masonry and the greater the risk of condensation.
The description of the historic-wall system divides the thicknesses into three bands. At 30–50 mm the risk is low. At 60–80 mm it is medium and an auxiliary vapour barrier is needed. At 100–110 mm it is high: with a continuous vapour barrier of PE membrane and a calculation by the Glaser method. For brick masonry the typical compromise is 60–80 mm.
That is still a lot. The walls of old houses can have a U above 1.2 W/(m²·K), while a 60 mm layer alone has 0.34 — losses through the surface of the wall fall more than threefold.
And the space? A board with a 50 mm core is 62.5 mm thick with the plasterboard. On a wall 4 m long that is 0.25 m² of floor, with an 80 mm core — 0.37 m², plus the layer of adhesive. That is precisely why PIR is used here: a lower λ packs the same resistance into a thinner layer. Where thin insulation makes sense, we discuss in the piece on 20, 30 and 50 mm PIR boards.
That is also the whole answer to the question about plasterboard backed with EPS. The principle is the same, the difference is the core: for the same thermal resistance the PIR layer comes out thinner. The difference in centimetres can be worked out with the EPS-to-PIR converter.
What installation looks like: adhesive, gaps and joints
The basic variant is bonding to the wall.
Masonry and substrate. The wall must be dry — the system gives a moisture content below 4%, measured with a moisture meter. The substrate is levelled with cement-lime plaster, with deviations of up to 5 mm over 2 m.
Adhesive. Universal adhesive is applied in 14 dabs on the board and a continuous strip around the perimeter, so that it covers at least 40% of the surface.
Gaps. The board does not stand on the floor: a 10 mm gap above the floor protects against moisture being drawn up. At the ceiling and at the cross walls a 5–15 mm gap is left and filled with low-expansion PIR foam. High-expansion foam pushes the boards apart.
Joints. Joints of 5 mm and more are filled with foam. The junction description requires vapour-tight continuity at every joint: aluminium tape on the joints, and on the paper face — tape and filler. The joints are finished only after 7–14 days, once the adhesive and the foam have stabilised.
A frame instead of adhesive. When the substrate is very uneven, the plaster is crumbling or services are to run in the wall, the board is screwed to a timber or steel frame — at the same centres as for ordinary plasterboard. This takes up more room, but leaves space for cables and pipes.
There are two places adhesive alone will not deal with. The ring beam, i.e. the reinforced-concrete beam at floor-slab level, cannot be insulated from the inside. A linear bridge remains there, which you have to accept and, after the first winter, check with a thermal imaging camera. At a cross wall, a strip of insulation about 30 cm wide returned onto that wall helps.
The second place is the reveals, i.e. the sides of the window recess. The system description does not draw a separate detail for them, and the principle is the same as with thermal bridges at window junctions: the insulation has to reach the frame. Ask the designer or an advisor about this detail.
And ceilings and loft slopes?
The question about insulating a ceiling from the inside with PIR board comes back regularly, so let us be specific. The termPIR® AL GK data sheet lists two such applications: suspended ceilings and pitched roofs insulated under the rafters, i.e. from the underside of the rafters.
In neither does the board hang on adhesive. It is screwed to a supporting frame — of the kind ordinary plasterboard requires.
The manufacturer’s catalogue shows a ready build-up for a loft, variant W II: termPIR® AL between the rafters, and beneath them AL GK on battens, fixed with wood screws. The example from the catalogue is 150 mm between the rafters and 50 mm beneath them, which gives U = 0.13 W/(m²·K). You will find the build-up on the under-rafter system page.
What the documentation does not contain: bonding the board to the underside of a floor slab in a flat. Discuss such a build-up with an advisor before you order the material.
What not to do: four shortcuts that come back to bite
Do not bond onto wet masonry. Damp first has to be diagnosed and removed at its source. The board dries nothing out.
Do not choose the thickness by eye. The rule “the thicker the better” holds on a roof. From the inside, the thickness follows from the analysis.
Do not treat an ordinary aluminium-faced board as a cheaper substitute. Insulating from the inside with termPIR® AL board is not a standard solution: it requires a moisture analysis and a continuous vapour barrier. The product designed for work from the inside is AL GK.
Do not leave joints and penetrations open. Every unclosed gap, socket box or pipe is a route for moist air to get behind the board.
Masonry first, board second
PIR insulated plasterboard is a good tool for a narrow task: to insulate a wall whose façade may not or cannot be touched, and to lose as little of the room as possible in doing so. It gives real thermal resistance in a few centimetres and a surface ready for painting. What it does not forgive is shortcuts: wet masonry, a thickness chosen without analysis, unclosed joints.
So the order is the reverse of what haste suggests: first the condition of the wall, then the hygrothermal analysis, and last the thickness and the number of boards. Current thicknesses, availability and prices can be seen in the BOKKA shop, in the category of PIR insulation boards.
🤝 Contact a BOKKA technical advisor — describe the wall: what it is made of, how thick it is and what condition it is in. We will help assess whether insulating from the inside makes sense in your case and select the thickness for the termPIR® AL GK historic-wall system.
Sources:
- Product data sheet and Declaration of Performance for termPIR® AL GK (DoP no. termPIR/GP/1/GK/2) — λD, 12.5 mm plasterboard, format, reaction to fire
- termPIR® technical catalogue — Residential Buildings (Gór-Stal, 2022): walls of historic buildings with AL GK board, pitched roof W II
- termPIR® brochure 2025 (Gór-Stal) — thermal resistance RD and U-value of boards with a gas-tight facing
- PN-EN ISO 13788 — calculation of interstitial condensation (Glaser method)
- EN 13950 — gypsum board thermal/acoustic insulation composite panels
- EN ISO 6946 — thermal resistance and thermal transmittance (Rsi/Rse surface resistances)
- Technical Conditions (WT 2021) — thermal insulation of building elements
Frequently asked questions
Does PIR insulated plasterboard need an additional vapour barrier?
What thickness of PIR insulated plasterboard should I choose for a wall insulated from the inside?
Can PIR insulated plasterboard be fitted on a ceiling?
How does PIR insulated plasterboard differ from plasterboard backed with EPS?
Related products and systems
Read next
PIR boards for external walls and façades — which variant for which wall
20, 30 and 50 mm PIR board — where thin insulation makes sense and where it does not
Polyurethane boards: PUR or PIR? How they differ and what you are really buying